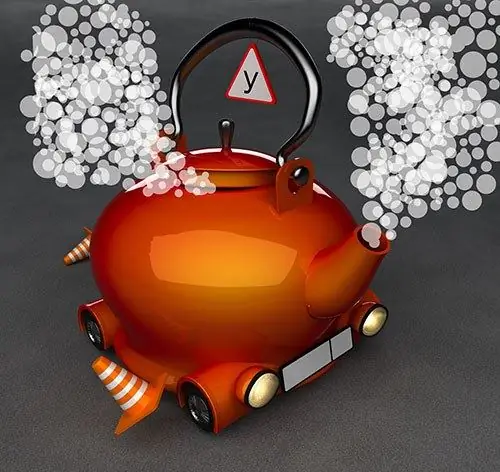
Often, in artistic processing of photographs, it is required to bring some kind of realistic detail into the composition. For example, coffee in a cup will look much more appetizing if you add steam above its surface. This can be done in the raster graphics editor Adobe Photoshop.

Necessary
Adobe Photoshop
Instructions
Step 1
Open the image to add steam to in Adobe Photoshop, or create a document in which you can steam separately. To load the image, press Ctrl + S or select the "Open …" item from the File section of the main menu. Create a new document by pressing Ctrl + N or by choosing New from the File menu. After creating the document, fill the entire area of the current layer with black or dark gray (Paint Bucket tool) for more convenient work.
Step 2
Add a new layer. In the Layer section of the main menu, highlight the New item. Select Layer in the child menu. In the Color list of the dialog that appears, make the current value None, and in the Mode list - Normal. Set the Opacity to 100% and click OK.
Step 3
Create a steam blank. Set the foreground color to a light gray (luma value 70-90). Add one or more free-form, painted, extended-up areas of the image where you want. This can be done with a thick brush (Brush tool) or simply create a selection with the Polygonal Lasso Tool and then fill it with one color. It is also good to lighten some areas of the created filled fragments with the Dodge Tool - this will make the steam more uneven.
Step 4
Make steam. From the main menu select Filter, Distort, "Wave…". Choose the parameters yourself to achieve the desired degree of deformation of the image, or just press the Randomize button several times. Click OK. Select Edit and "Fade Wave …" from the main menu. The Fade dialog will appear. Activate the Preview option in it. Set the Opacity parameter to an arbitrary value from the range 30-80. Click OK. Repeat this step several times.
Step 5
Blur the steam image. From the menu choose Filter, Blur, "Gaussian Blur…". Activate the Preview option and select an acceptable value for the Radius parameter. Click OK.
Step 6
Save the image. Press Ctrl + Shift + S. Select a format, enter a file name. Click the Save button.


