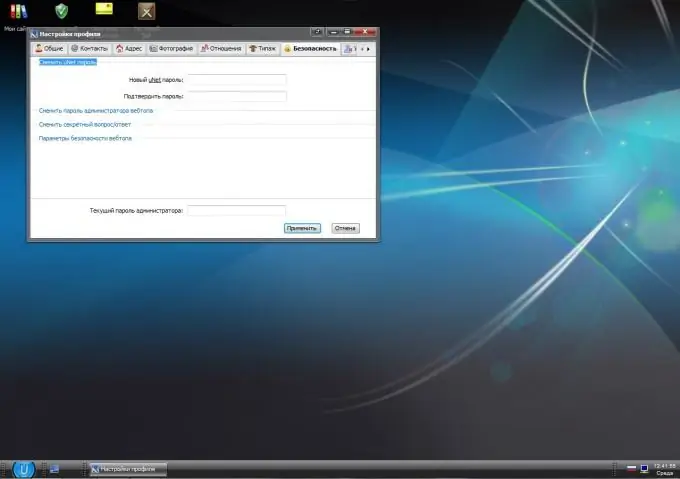
Often, after reinstalling the OS, you may have a question about enabling the "Security" tab if you need to access the "Desktop" and "My Documents" folders of the previous OS. How do you enable this tab?

Instructions
Step 1
Open the desired folder you want to access by opening the Security tab. Go to the "Tools" menu, select "Folder Options". Next, go to the "View" tab, uncheck the "Use simple file sharing" checkbox. Then click the "Apply" button, close the window.
Step 2
Go up one level, right-click on the icon of the desired folder in which you want to open the "Security" tab, select "Properties". In the "Security" tab, click the "Advanced" button, select the "Owner" tab. Select the desired user or "All" from the list, then select the "Change owner" checkbox, click the "Apply" button.
Step 3
Go to the main menu, select the Run command, enter the Regedit command. In the registry window that opens, go to the HKEY_LOCAL_MACHINESYSTEM branch, then select CurrentControlSetContro lLsa and set the value forceguest "= dword: 00000000 here. Restart your computer for the changes to take effect to enable the Security tab."
Step 4
Follow the link https://support.microsoft.com/default.aspx?scid=kb;en;307874, select "Get help with this problem." To enable the Security tab and disable file sharing, select the Fix this problem link. A file download window will open, in which select "Run", then wait for the file to download and follow the instructions of the wizard. After completing the wizard, the "Security" tab will appear in the folder properties
Step 5
Follow this link https://depositfiles.com/files/6goao3d3t, download the archive to your computer, unpack it to any folder. Next, run the executable file from this folder to install the Security Configuration Editor package on your computer. This package is designed to enable the Security tab. After installing the package, restart your computer, go to the "Properties" item of any folder and check for the presence of the tab.


