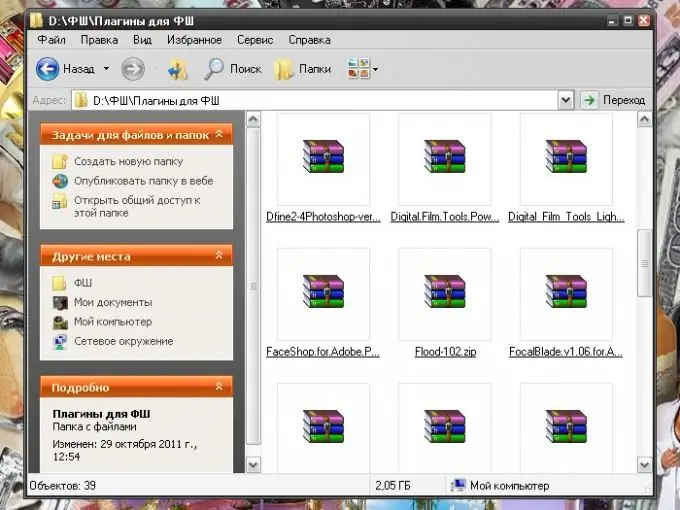
An archive is a collection of folders, files, and other data compressed and stored in a file. The most famous archive formats are.rar and.zip. As long as all the documents you need are archived, you cannot send them to print. Therefore, before you can print the files from the archive, you need to perform several steps.

Instructions
Step 1
Unpack your archive. To do this, an application for working with archive files must be installed on your computer. As mentioned above, it must be a RAR, ZIP or similar software product. Download it from the internet or install from disk. After the application is installed, you can unzip the data in one of several ways.
Step 2
Move the cursor to the archive of your choice and right-click on its icon. Several commands for working with the archive will be available in the drop-down menu. Select the "Extract to current folder" command if you want the files from the archive to be saved in the directory in which you are now. For example, if your archive is on the "Desktop", all files packed in it will be extracted to the "Desktop".
Step 3
Select the "Extract to [archive name]" command if you want the files from the archive to be unpacked into a separate folder with the name of your archive. A new folder will be created in the directory where the archive itself is saved. This command is useful when there are too many files in the archive.
Step 4
The "Extract files" command allows you to extract all files from the archive to the directory you need. Click on the corresponding item with the left mouse button, the "Extraction path and parameters" window will open. On the "General" tab, specify the path for saving files by entering it yourself or by selecting the required folder from the tree-like directory. If necessary, create a separate folder with the desired name. To do this, click on the "New folder" button. After specifying the path, click OK.
Step 5
Another way: open the archive by clicking on it with the left mouse button or using the "Open" command. Select the "Commands" item in the top menu bar and click on the "Extract to the specified folder" item, or simply click on the "Extract" thumbnail icon. Specify the directory where the files will be extracted. If you need to unzip only part of the files, select them before choosing the command. If the file names are not on contiguous lines, hold down the Ctrl key while selecting.
Step 6
After the files are extracted from the archive, print them in the usual way. Open with the required application, select the "Print" command from the "File" item in the top menu bar, or send the file to print without opening it. To do this, right-click on the file icon and select the "Print" command from the drop-down menu by clicking on it with the left mouse button.


