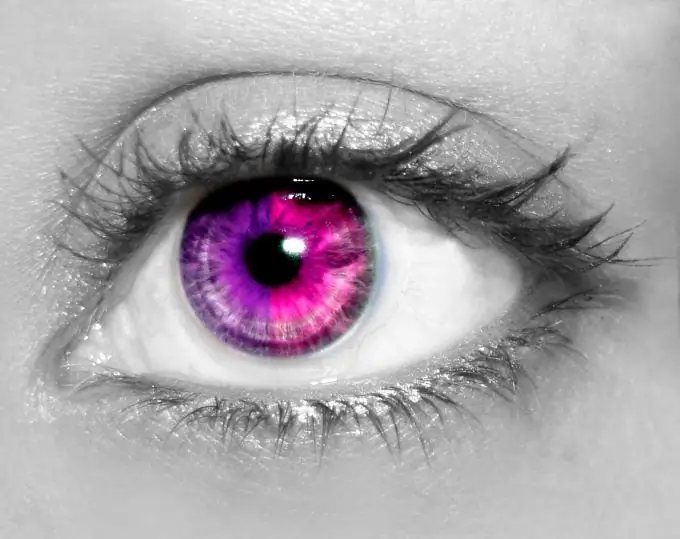
In order to change your eye color in life, you would need colored contact lenses. It is much easier to change the eye color in a photo. To do this, you just need a graphics editor Photoshop and a little patience.

Necessary
- - Photoshop program;
- - photo for processing.
Instructions
Step 1
Load the snapshot you want to work with into Photoshop using the Open command from the File menu. The same result will be obtained if you press the hotkeys Ctrl + O.
Step 2
Duplicate the photo layer. To do this, right-click on the layer with the processed image in the layers palette and select the Dublicate Layer option from the context menu.
Step 3
Select the eyes in the photo. This can be done in quick mask mode. Select the Brush tool from the tool palette. In the settings of the tool parameters, which can be seen under the main menu, set the diameter of the brush, which will be convenient for you to paint over the eye in the photo. Set the Hardness parameter to fifty percent.
Switch to quick mask mode. To do this, left-click on the right rectangle at the bottom of the tool palette. Paint over the eyes with a brush.
Exit Quick Mask mode by clicking on the left rectangle at the bottom of the tool palette.
Step 4
Hide the part of the image that you want to keep the color unchanged. To do this, invert the selection made in the quick mask mode. This can be done using the Inverse command from the Select menu.
Create a layer mask by clicking on the Add layer mask button located under the layers palette. The convenience of using a mask is that you can adjust the size of the area with the changed color by changing the mask.
Step 5
Edit the eye color by invoking the settings window using the Hue / Saturation command from the Adjustment group of the Image menu. Move the Hue adjustment slider until the desired color is achieved. Click OK.
Step 6
Use the Save As command from the File menu to save the modified photo with a different name. This will allow you to have both versions of the image at your disposal.


