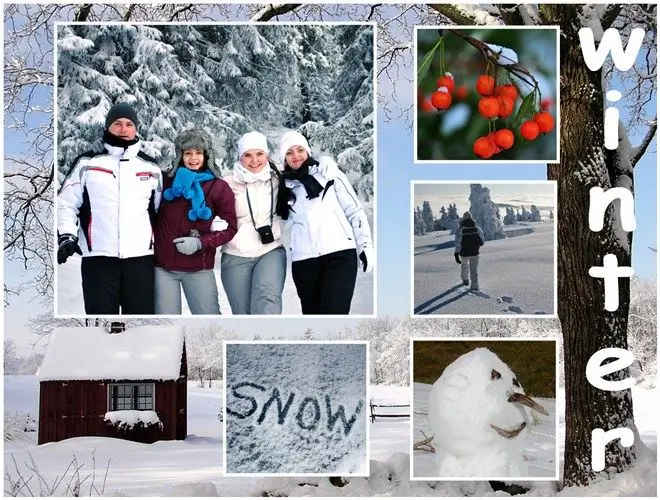
By collecting several pictures on one background, you can get a colorful collage telling about interesting events or your hobbies. To create such a picture, you will need to crop the photos, resize them, style them with a layer style and an inscription. All this can be done in Photoshop.

It is necessary
- - Photoshop program;
- - photos.
Instructions
Step 1
In one collage, you can collect pictures united by a common theme: an event or an object. The final picture will look more interesting if it includes both general plans and large ones. A high-quality photograph is suitable as a background, in which there are no details that attract attention. It can be a monotonous landscape, flowers or leaves taken in close-up.
Step 2
Take a piece of paper that matches the aspect ratio of the background picture and draw the approximate location of the pictures. To create a collage, one large photo is enough, which will set the mood of the entire composition, and four to five additional shots. They can be made smaller than the main image.
Step 3
Using the Open option of the File menu, load the future collage background into Photoshop and make a template out of it, into which you then substitute the rest of the pictures. To do this, unlock the loaded image with the Layer from Background option in the New group of the Layer menu. By clicking on the Add layer mask button located in the lower area of the layers palette, add a mask to the background image.
Step 4
Turn on the Rectangular Marquee Tool in Add to selection mode and select the areas where the images will be inserted. If you are thinking of using not rectangular pictures, but round or oval ones, select the Elliptical Marquee Tool. If necessary, use the Grid option of the Show group of the View menu to turn on the grid, which will help to evenly position the selected selections.
Step 5
Go to the layer mask and fill it in the selected areas with black. This can be done using the Paint Bucket tool.
Step 6
As an additional decoration for the picture, apply a stroke to help separate the pictures from the background. Use the Stroke option in the Layer Style group of the Layer menu to open the style options and adjust the position, width and color of the stroke.
Step 7
Use the Place option of the File menu to load the images from which the collage will be assembled into the document. For each image opened in this way, apply the Smart Object option in the Rasterize group of the Layer menu.
Step 8
Drag the photos under the background image layer using the mouse. Use the Move Tool to move the images so that the fragments intended for the collage appear in the transparent windows created in the background by the mask. If necessary, reduce or rotate the photo using the Free Transform option of the Edit menu. If parts of the same image are visible under several transparent background areas, erase the excess areas of the image with the Eraser tool.
Step 9
Add a caption to the collage. With the Horizontal Type tool enabled, click on the place in the picture where the text will begin and enter the caption. For the letter color, select the stroke color applied to the background.
Step 10
Save the collage as a.jpg"


