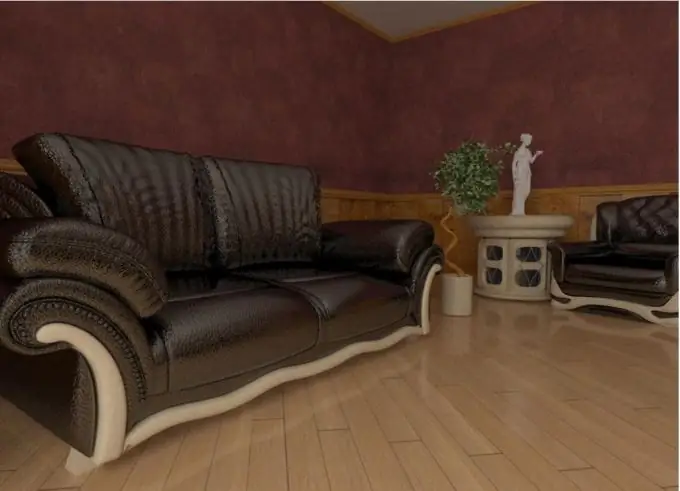
Vray is an element used to create 3D objects in 3DMax. Various materials can be created that simulate real ones. You can download ready-made sets, but it is better to create everything manually, choosing exactly for your needs.

Necessary
- - computer;
- - 3D Max program.
Instructions
Step 1
Create a Vray leather material. To do this, start the 3D Max program, click in the Materials menu on an empty slot, select Vray Material from the list of new materials. Set the main settings: set the color in the Diffuse tab, then go to the Reflection tab, set the Reflect RGB value to 45 45 45, do not change the Glossiness value, set the number of subdivs to 8.
Step 2
Next, go to the Maps tab, add a black and white skin map to the Bump slot. With its help, the material will be given volume (bulge, veins, and so on). To understand how this map will look on the object, click on the cube Show Standard Map in Viewport; stay in the Bitmap Parameters tab. Give the object a leather Vray material. Use UVW Mapping for this - it allows you to fine-tune the "Wrap" of objects with a texture.
Step 3
Create a Neon Glass material. Start the material editor to make a new Vray material, leave the material type as standard. Specify the following material parameters: select the Shader Basic Parameters rollout, in it select the Blinn material type, activate the Slided option, the Specular color is white, Ambient and Diffuse are also white. Set the Specular Level to 36, the Glossiness to 28, and the Soften to 0, 1. Next, go to Extended Parameters to continue creating the Vray material.
Step 4
Set the following values for the parameters: Falloff Amount - 100, Index of Refraction - 1, 67. Next, go to the Maps rollout, activate two maps in it, reflection and refraction. Next, set up the first map; the colors of the sides are black and white. Set the Glossiness to 100 and the Subdivs to 3.
Step 5
Configure the second map, the color half should have the following values: R - 234, G - 134 and B - 255. The value of the Falloff type parameter should be Perpendicular / Parallel. Open the map settings, set the Refract parameters: Glossiness value - 100, Subdivs - 3, Fog multiplier value - 0, 5. Creation of a new Vray material is completed.


