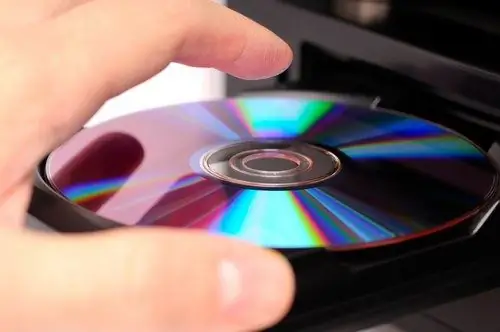
The CDA format is used to record sound on Audio CDs. The audio tracks of Audio CDs are objectively not computer files and cannot be copied by ordinary disc dubbing. The CDA label denotes uncompressed audio stream tracks that resemble *.wav files in content, but recorded in a different format.

Necessary
- - a computer with a CD-RW or DVD-RW write drive;
- - Nero program;
- - blank CDs or CD-RWs.
Instructions
Step 1
Audio CD players were the first mainstream digital audio playback devices. Until now, you can find players that only accept this format. Burning an audio CD for such a player is not difficult.
Step 2
The original file for recording must have PCM parameters, that is, it is a *.wav file (where * is the file name) with a sampling rate of 44, 1 kHz and a bit rate of 1411, 2 kbps, 16-bit, stereo or mono. You can convert such a file from any audio file you have using the Nero Audio Editor program from the Nero package.
Step 3
Place the files you have prepared in a separate folder and number them in the order in which you intend to play them. The sequence number of the future track must be presented in two-digit form (01, 02, and so on) and be placed in front of the file name or be a file name. This technique is needed to preserve the playback sequence.
Step 4
Check if your player can play CD-RW discs. If it is designed only for CD-R discs, then this should be taken into account when recording. Insert a blank CD into your computer's CD-RW, DVD-RW burner. Start the Nero program and select the "Make Audio CD" function from the menu.
Step 5
In the window that opens, add the files you have prepared for recording. They can be simply selected and dragged with the mouse directly from the explorer or commander window. Check if there is enough space on the CD and edit the list if necessary. In this window, files can be added and removed. Then you can start burning the disc by pressing the interface button "Burn" or "Burn".
Step 6
With Nero you can burn an Audio CD directly from a selection of mp3 files. You just need to take into account that compression codecs developed by various companies are not always accepted by Nero. If, when adding files in the Nero window, some of them did not appear, convert it to uncompressed wav, this will solve the problem.
Step 7
There are many programs for recording Audio CDs, including free ones. The most common now is Nero 9 Lite. It contains not only tools for recording discs of various formats, but also all kinds of editors, including audio. If you do not want to install many different audio editors and converters on your computer, use this program.
Step 8
You can also burn Audio CD using standard Windows 7 or Windows 8 tools. Just load the files of your choice into the player and select the "Burn" function in the menu tab. Recording will be slower than in Nero, there are fewer settings in Windows Media. But this will not affect the sound quality.
Step 9
There are also hardware recorders that record sound directly in the Audio CD format. They are often used by collectors, rewriting music from vinyl records and tapes. Audio discs recorded on such devices immediately contain tracks with the CDA label. You can also send a signal to such a recorder from an mp3-player or a computer sound card, but this does not guarantee a high-quality recording.


