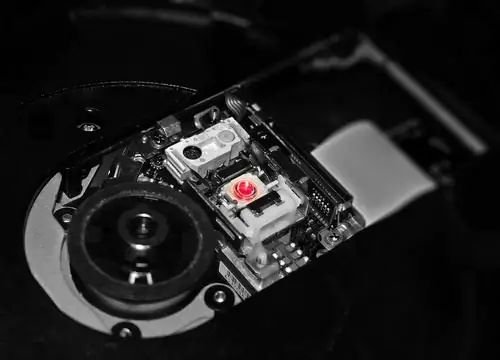
Over time, in the life of any user of a personal computer, an update (update) of the hardware is maturing. It is not necessary to go to the store for a new component of the system unit, sometimes it is enough just to install a firmware update for the device. This operation can be done using a special program.

Necessary
Bootcode Flasher software and firmware files
Instructions
Step 1
The program itself, as well as the firmware files, must be downloaded from the Internet. On the official website of the manufacturer, you can find a suitable version of the firmware files, as well as a program for the implementation of the firmware. True, not all companies decide to take such a crucial step, because the firmware carries with it the risk of incorrect actions that may lead to the device's failure to work. When choosing a firmware, you should pay attention to the differences between them: there are official firmware files (from the company) and there are their modified versions (created by advanced users).
Step 2
If you have not yet looked inside the system unit, do it immediately. Look at the ribbon cable from the CD / DVD drive to the motherboard - no other devices should be connected to this ribbon cable, this can lead to a malfunction of the firmware process.
Step 3
Click the Start menu, select Run. In the window that opens, enter the devmgmt.msc command and click OK. In the window that opens, go to the "Advanced settings" tab, select the block that is responsible for your device, and change the data transfer type from DMA to PIO. Initially, we need to reset the boot code of our drive. This can be done using the same Bootcode Flasher program. To do this, we need to download special files that will reset the drive firmware.
Step 4
After downloading the archive with the zeroing files, you need to run the bat-file (the name of this file will contain the model of your drive). When you run the bat file, a command line window will open, press the y symbol, then the Enter key. Then you need to enter YES and wait for the end of the process. Firmware reset is complete, restart your computer.
Step 5
After booting the computer, the system will display a message about new hardware - this will be your drive, but it does not have firmware yet. Now you can start flashing the drive to the version we need. It is advisable to flash with another program that is automatically included in the archives with the firmware files - BinFlash GUI. In the main window of the program, you must select the drive, if it is not the only one in your system, then click the Flash button and select the firmware file. The flashing process can take up to 5 minutes, so please be patient. For all the windows that appear, you must press the YES button.
Step 6
After the end of the process of flashing the drive, you need to restart the computer and enjoy the result. If the firmware is unsuccessful, you must repeat this operation or try other firmware versions.


