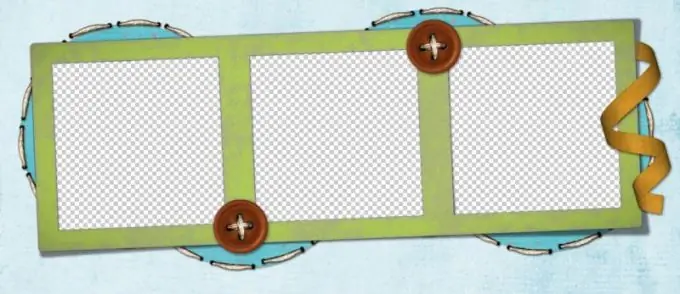
Templates for Photoshop are psd or.

Necessary
- - Photoshop program;
- - sample;
- - an image to be inserted into the template.
Instructions
Step 1
Open the template in a graphics editor. If you come across a template in psd format, double click on the icon of this file. The psd files are associated with Photoshop by default, so the template will open in that program.
Step 2
Some template files are saved with hidden layers. In other words, when you open the file, you only see a white or transparent background. This can be corrected by enabling the display of layers. To do this, click on the eye icon to the left of each layer in the layers palette.
Step 3
Load the image that you are going to insert into the template into Photoshop. You can drag the file with the picture into the editor window using the mouse, you can call the dialog box to open the file with the Ctrl + O key combination.
Step 4
Insert your image into the template. To do this, select the entire picture with the Ctrl + A keys and copy it to the clipboard with the Ctrl + C combination. Click on the window with an open template and paste the copied image into it using the Ctrl + V hotkeys.
Step 5
You may find that your image is much smaller than the template. In this case, it is better to reduce the layers of the template than to enlarge the inserted photo, which will noticeably lose quality when scaled. To reduce the layers of the template without touching the photos, hold down the Ctrl key and click in turn on all the layers of the template. This is how you managed to select these layers.
Step 6
To change the size of the selected layers use the Scale command from the Transform group of the Edit menu. A panel with transformation settings will appear under the main menu. Click on the Maintain aspect ratio button, which is located between the fields with the width and height values. This will allow you to shrink the template proportionally. Enter a new value in the width or height field. In this case, the second value will immediately change. Press the Enter key twice.
Step 7
Click on the layer with the photo that you insert into the template. If necessary, move the photo layer lower or higher in the layers palette. If the photo covers some details of the template that should be visible in the final image, move the photo down. To do this, just move the layer with the mouse.
Step 8
Select the Move Tool and use it to move the pasted image so that it looks natural in the template. If necessary, correct the tilt of the picture with the Rotate command from the same Transform group.
Step 9
Merge the layers with the Flatten Image command from the Layer menu and save the resulting image in.jpg"


