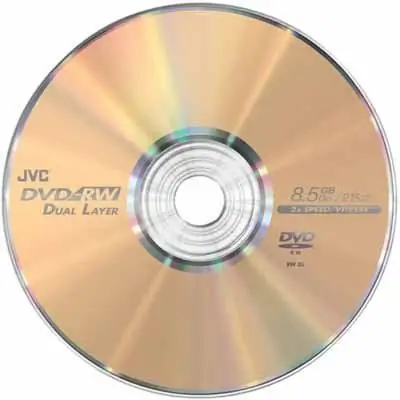
Burning photos to a disc can be done in various ways, but the most correct way is to burn photos using special programs for burning discs. One of the most popular programs of this kind is Nero. Burning photos to DVD with Nero is a breeze.

Instructions
Step 1
Open the Nero program. This program, in fact, is a set of utilities for various manipulations related to recording and erasing CDs, as well as for preparing content for recording on a given type of media. Select the Nero Burning Rom program to burn photos. After that, insert the DVD into the drive, and in the upper part of the program window select the type of disc to which the data will be recorded. In our case - DVD. Then click the Add Files button. A window will open that resembles the standard Windows file manager - Explorer.
Step 2
On the right side of the Add Files window, find the folder with the photos you want to burn to disk. Take either an entire folder or individual photographs intended for recording and drag them with the mouse to the left side of the window. Watch the DVD full indicator at the bottom of the program window. The DVD contains 4.7 gigabytes of information, that is, it can record more than a thousand photos with a resolution of 8 megapixels. After you have dragged all the necessary photos into the recording field, make sure that the disk is not full, otherwise the recording may not take place.
Step 3
To start the physical recording of photos to disk, click the "Burn" button. Monitor the status of this process and do not remove the CD until it completes. Otherwise, the storage medium may be damaged (if it is not a rewritable disc). After the end of the burn, the drive will open automatically. Reinsert the disc and check the recording quality of the files.


