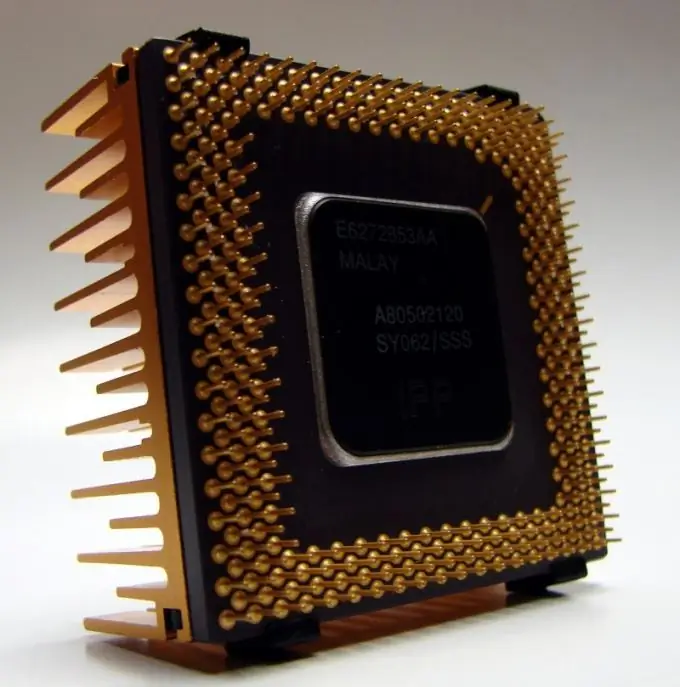
One way to speed up your computer is to replace the CPU. You need to be very careful when choosing a new device so that it can work with the rest of the PC hardware.

Necessary
- - crosshead screwdriver;
- - thermal grease.
Instructions
Step 1
First, open the instructions for your motherboard. If you do not have a paper copy at hand, then visit the website of the manufacturer of this device. Find just one parameter - the type of socket (socket) into which the central processor is installed. Find out the maximum CPU specifications that your motherboard model can handle.
Step 2
Purchase a CPU that matches your motherboard. Don't get too powerful if you don't plan on installing additional RAM cards. Turn off the computer and open the lid of the system unit. Be sure to disconnect your PC from AC power. Now carefully remove the fan and cooling heatsink located above the CPU. This usually requires opening special latches. The types of fastening are very diverse. Disconnect the cable from the fan to the motherboard.
Step 3
Remove the old processor from the socket. Install a new CPU in its place. Be extremely careful. Avoid touching the processor veins with your fingers. The risk on the corner of the CPU should match the risk on the socket. Now apply some thermal paste to the top of the CPU. Clean the underside of the heatsink with a fine-fiber cloth to remove any residual thermal paste. Reinstall the cooling heatsink and fan. Fasten both devices securely. Don't forget to connect the power to the cooler.
Step 4
After 30 minutes, turn on the computer. Be sure to install new drivers for the chipset and processor. This is necessary for the stable operation of new equipment. Install the CPU-Z program. Run a CPU health check. Make sure the equipment is working properly. Check the temperature of the new CPU periodically.


