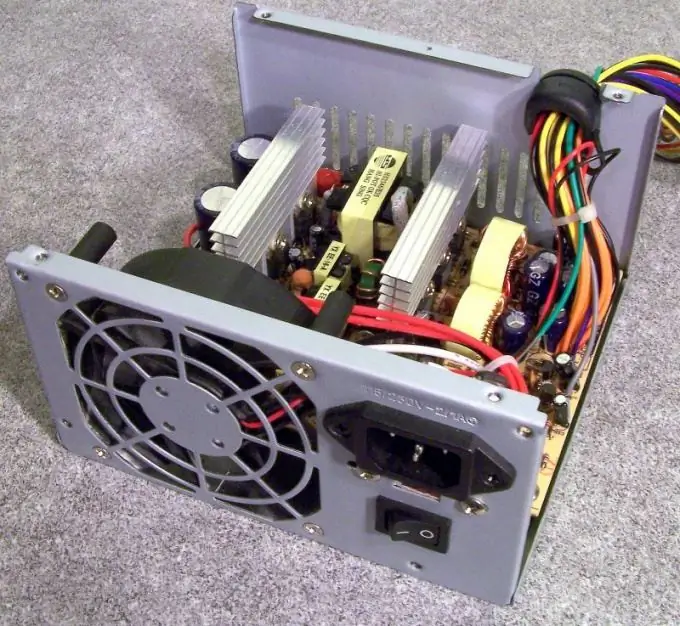
Failure of the fan installed in the computer system unit can damage several devices at once. It is especially important to keep an eye on the cooler of the power supply, because overheating of this equipment can cause a large voltage surge.

Necessary
- - crosshead screwdriver;
- - soldering iron;
- - knife;
- - insulating tape.
Instructions
Step 1
If you notice that the computer's power supply gets very hot, be sure to clean the cooler. Turn off your computer and remove the power supply. Be sure to disconnect the device from the mains beforehand. Disassemble the unit by unscrewing a few screws with a Phillips screwdriver.
Step 2
Vacuum the inside of the power supply. Remove any remaining dust using cotton swabs. Soak them in an alcohol solution and wipe the cooler blades. If the fan is completely out of order, it must be urgently replaced.
Step 3
Do not turn on the computer with a defective power supply. This can damage the motherboard and other critical components. Find out your PSU model and cooler type. Remove the old fan. To do this, unsolder the cooler power wires from the block board.
Step 4
Sometimes it's wiser to just cut the cables. This will allow in the future to connect the wires to each other, and not to solder the cables to the board. Unscrew the screws and remove the fan.
Step 5
Get a new cooler that matches the power and size. It is best to choose an exact copy of the old cooler or a complete analogue. Insert the new fan into the power supply and screw it down. Make sure the device does not wobble.
Step 6
Connect the cooler wires to the cables coming from the power supply board. If you are unable to use a soldering iron, simply twist the wires together securely.
Step 7
Be sure to wrap the exposed parts with electrical tape. Assemble the power supply case. Do not install it inside the computer case. Connect the power cable to the device. Now connect this cable to a 220 volt outlet.
Step 8
Turn on your computer and check if the cooler is working properly. Disconnect the device from the mains and install the unit inside the case.


