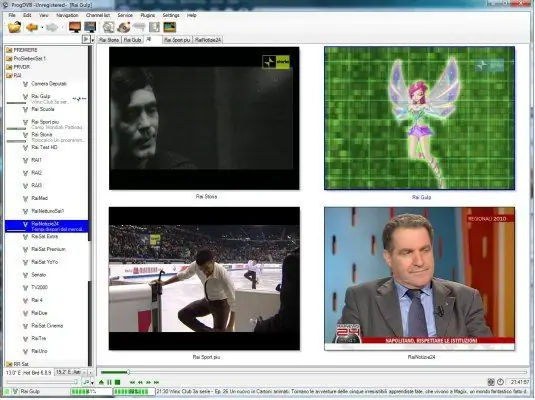
The concept of "sharing" or "cardsharing" comes from the English words - card (card) and charing (general access). In other words, map sharing. For this, a server-client connection is created, which is implemented on the basis of a local network, the Internet or Wi-Fi. The server has an original access card for viewing encoded satellite channels, and the client has the corresponding software that allows you to watch TV channels.

Necessary
- - DVB card SkyStar2;
- - ProgDVB program;
- - plugin csc 4.0.0.4;
- - internet connection
Instructions
Step 1
Install DVB-card SkyStar 2 on your computer. Configure its software. The SkyStar 2 card is used both for viewing and recording open and closed satellite channels through a computer, and for accessing the Internet using an asynchronous connection option. Connect to the internet using a landline: ADSL, GPRS or cable internet. It is required for real-time transmission of dw keys to watch scrambled satellite channels.
Step 2
Install the ProgDVB program on your computer. Adjust the DiSEqC parameters when you have a satellite dish tuned to several satellites or specify a specific satellite. Install the csc 4.0.0.4 plugin, download it, unpack the archive into the / ProgDVB / folder. Move the msvcr70.dll file (do not copy) to / WINDOWS / SYSTEM32 so that this file does not remain in the ProgDVB / folder, otherwise the ProgDVB program will not start. Check the installation, for this: run ProgDVB, go to the "Plugins" menu, the CardServer Client tab should appear in the menu that opens.
Step 3
Configure the csc 4.0.0.4 plugin. Launch ProgDVB, go to the Plugins menu of CardServer Client Configure Server. In the window that appears, write / install the following: Protocol: newcamd525; User name: login for access to sharing (issued upon registration); Password: password for accessing the Sharing; Card Server IP Address: server name or IP address; Port: connection port (number is issued when connecting); Optional Parameters: 0102030405060708091011121314 (des key). Then click the Add Item button, then the Save Configuration button, the window should close. The configuration is over.
Step 4
Turn on the desired channel of the selected home sharing package in the ProgDVB program. If the image does not appear after a few seconds, then do the following: go to the channel properties; double-click in the window that appears on the required CA type (ID), which will be given to you upon connection. Click the "OK" button, the image will appear in a few seconds.


