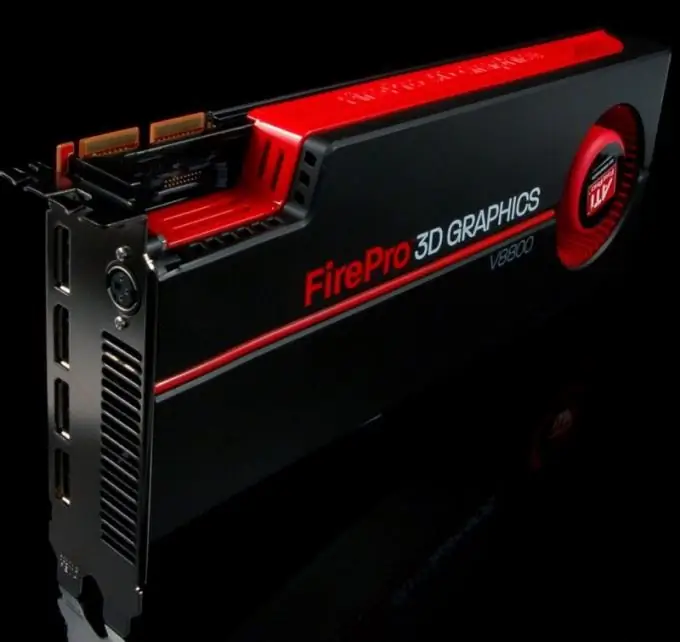
Some PC devices are equipped with fans to maintain the required temperature range. If one of the coolers does not work correctly, it must be cleaned or replaced.

Necessary
crosshead screwdriver
Instructions
Step 1
Check the temperature of important parts of the personal computer. Download and install Speccy. Run it and wait for a while until the collection of the necessary information is completed.
Step 2
Open the "Video Adapter" menu and see the temperature of this device. Turn off the computer immediately if the temperature of the video card rises above the limit mark.
Step 3
Disconnect the computer system unit from the electrical outlet. Using a Phillips screwdriver, remove a few screws that hold down the left side wall of the case. Remove this wall.
Step 4
Disconnect the cable from the video card to the monitor. Remove the screw holding the video adapter to the case. Remove the device by disconnecting the power cables from it.
Step 5
Look at the video card model and the type of cooler installed. Remove the fan from the graphics card. To do this, remove a few screws. When working with modern models of video adapters, it is necessary to open the cover of the plastic case before removing the cooler.
Step 6
Purchase a similar fan. Make sure the device is the right size and has the correct power connector. Install a new cooler by attaching it to the graphics card heatsink. Connect the fan power cable.
Step 7
Install the video card in the slot provided for this. Connect the required wires. Do not cover the unit case. Connect your computer to AC power and turn it on. Make sure the fan blades rotate steadily.
Step 8
Install the Speed Fan software. Use it to adjust the rotational speed of the video card cooler. Check the box next to Autospeed. Minimize the utility. If the temperature of the video adapter exceeds the permissible norm, the program will automatically increase the rotational speed of the cooler or display a warning window.


