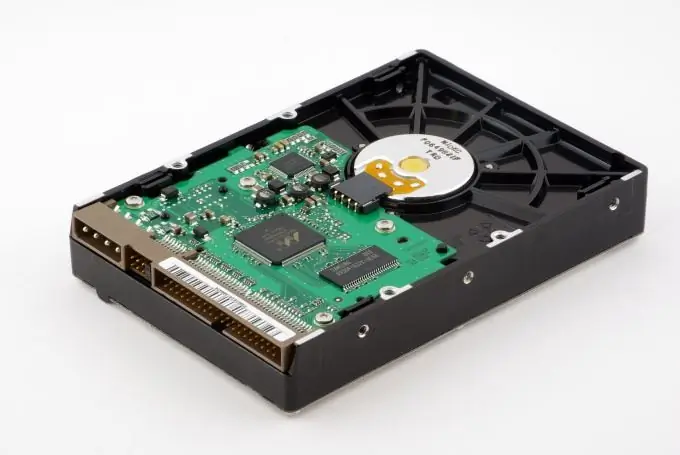
To increase the amount of permanent memory on your computer, you need to connect an additional hard drive. Naturally, this equipment must be correctly selected and connected.

Instructions
Step 1
First, find out the type of hard drives that can be connected to your computer's motherboard. For this it is better to use the visual method of identifying the connectors. Open the roof of the system unit and examine its contents.
Step 2
If two small cables are connected to the hard drive, then you need a new hard drive with a SATA connector. If the hard drive is connected to the motherboard via a wide ribbon cable and a small four-wire cable, then you need an IDE hard drive.
Step 3
Some motherboards have both ports for connecting hard drives. Usually DVD drives are connected via IDE connectors. In this situation, you can use both types of hard drives. Get the hard drive that's right for you.
Step 4
Connect the purchased device to the selected loop. Connect the power cord to it. Please note that if you plan to use this hard drive as a system drive in the future, you should not connect it to the same ribbon cable with a DVD drive.
Step 5
Turn on your computer and hold down the Del key. This is required to enter the BIOS menu. Now go to the Boot Device menu. Find Boot Device Priority and open it. Make sure your primary hard drive is still first on the list. Otherwise, specify the hard drive from which you want to start Windows.
Step 6
Now press the F10 key or select Save & Exit and press the Enter key. Wait for the loading of the operating system to complete. Wait while the system detects the new hard drive and installs drivers for it.
Step 7
If you have connected a brand new hard drive, please format it before use. Press the Start and E keys to go to the My Computer menu.
Step 8
Select the new hard drive and right-click on it. Go to the "Format" item. Specify cluster size (default) and disk file system type. Uncheck the Quick (Clear Table of Contents) option and click the Get Started button. Wait until the disk is formatted.


