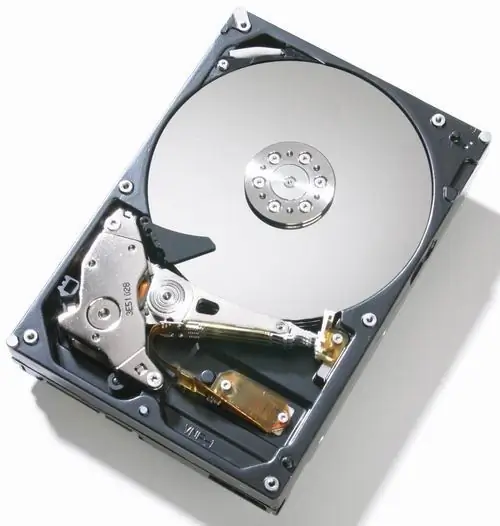
Sooner or later, the space on any, even a very capacitive hard drive, runs out. You can, of course, delete some of the files or burn them to discs. But you can simply install another hard drive, which will save you the trouble of deleting files. Plus, extra disk space never hurts.

Necessary
- - HDD;
- - screwdriver.
Instructions
Step 1
The first step is to decide on the hard drive interface. Nowadays, almost all hard drives are connected using the SATA interface. You can find out if your motherboard has a SATA interface from the instructions for it.
Step 2
Disconnect your computer and all devices that connect to it from electrical outlets. Remove the cover of the system unit, then lay it on its side. This will make it easier for you to access the motherboard interfaces. After that, find the SATA interfaces on it. As a rule, there are several of them. To make it easier to find, you can use the board schematic if you have one.
Step 3
Once the SATA interface is found, connect one end of the SATA cable to it. Insert the hard drive into an empty bay on the computer case. After that, connect the other end of the cord to the hard drive.
Step 4
The hard drive is now connected. It remains to connect the power. There should be a SATA wire among the power supply wires. You must not confuse, as only this wire will fit the hard drive. Connect it to the device. This completes the hard drive installation process.
Step 5
If your motherboard still does not have a SATA interface, or you got a hard drive with an ATA interface, then the connection procedure in this case is not much different. Connect the ATA ribbon cable to the system board and the other end of the ribbon cable to the hard drive. After that, connect the power supply. If you do not have a free ATA port, you can use an ATA cable, which allows you to connect several ATA devices to one interface. These cables should be included with your motherboard. Alternatively, you can purchase them from computer stores.
Step 6
After connecting the hard drive, close the lid of the system unit. Connect all devices to your computer. Turn on your PC and the operating system will automatically install all the necessary drivers.


