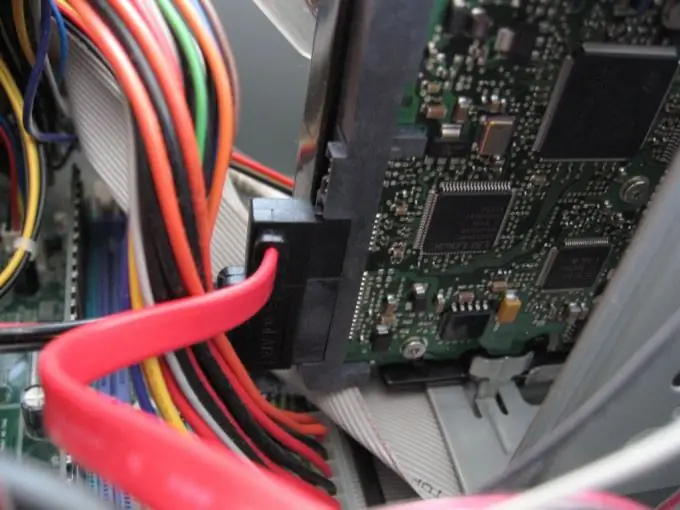
The need to put a second hard drive on a computer arises quite often. You can go to a service center, or you can put a second hard drive yourself, since this does not require special knowledge and skills.

It is necessary
Hard drive, SATA power adapter, cross screwdriver
Instructions
Step 1
The second hard drive allows not only to get additional space for files, but also to significantly increase the reliability of data storage by duplicating important files on different disks. Before starting work on installing a hard drive, be sure to make sure that the computer is disconnected from the network! Then, use a screwdriver to remove the screws that secure the left (when looking at the front of the computer) side cover. Note that the procedure for removing the cover may differ from case to case - for example, you may need to remove the bezel first. After unscrewing the screws, carefully remove the side panel. You may need to pull it back slightly to do this.
Step 2
Removing the panel, you will see the computer motherboard, power supply, various wires and cables. And, of course, the hard drive, usually located horizontally at the front of the computer. Pay attention to how it is installed - the second hard drive will need to be installed in the same way, in a free niche. Such niches can be found above or below the main drive. If possible, do not put the disks immediately one above the other - leave a gap between them, this will help them better cool. An important point: hard drives have special jumpers that set the operating mode. On the master disc, the jumper must be in the “Master” position. On the second - to the "Slave" position. The jumpers are very small and you may need tweezers to install them. After placing the jumper, carefully place the drive in the place chosen for it, tighten the retaining screws. They are usually not included with the hard drive, so a couple of short screws should be found in advance - they should go to the threaded holes on the left and right sides of the hard drive.
Step 3
The disk is installed, it remains to connect the power and the data cable to it. You may need a SATA drive adapter to connect power. It is best to open the computer before buying a hard drive and see if the adapter is on the existing disk and, if it does, buy the same one. When connecting, pay attention to the shape of the connectors and the color of the wires of the main drive that match them - the new drive must be connected in the same way. To connect the adapter, use any free connector with wires of the desired colors. Power is connected with one connector, the whole process is very simple. And most importantly, do not use force - all connectors are equipped with special protrusions that prevent them from being installed incorrectly.
Step 4
Power is on, now you need to connect the data cable. When purchasing a disc, make sure that the ribbon cable is included in the package. If not, get it. Usually it is a flat red wire with connectors at the ends, its width is within a centimeter. One end of the cable is connected to the hard drive, you can easily find the required connector. The second is connected to the corresponding socket on the motherboard. To find it, look where the main disk cable is connected - the socket for the second (and often also the third and fourth) should be nearby.
Step 5
Everything, the disk is connected. We put the cover in place, turn on the computer. If everything is connected correctly, the computer will start to boot. After loading, open "My Computer" - a new disk should appear in the list of hard drives. If you do not like the letter assigned to it by the system, go to: Start - Control Panel - Computer Management. In the "Storage" section, select "Disk Management". Clicking on the new disk with the right mouse button, select "Change drive letter or path to disk". A window opens, select "Change" and set the desired drive letter.


