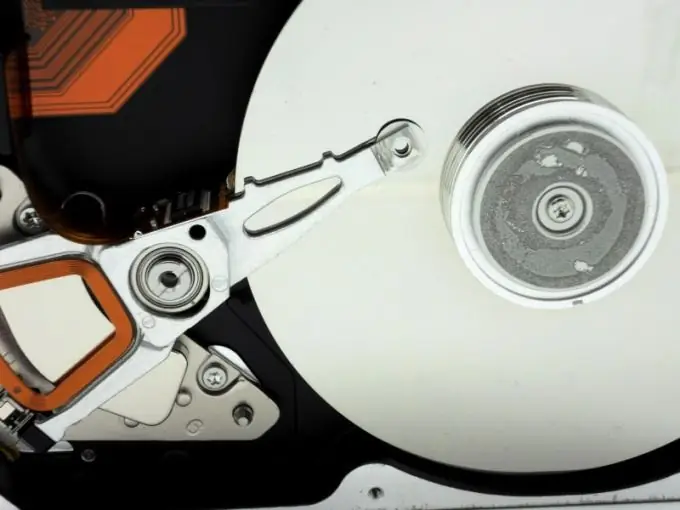
Some users prefer to use several physical disks at once when working with a stationary computer. This method improves the degree of reliability, because the failure of the system hard drive will not lead to loss of files.

Necessary
set of screwdrivers
Instructions
Step 1
Examine the technical features of the motherboard used in your computer. Open the case of the system unit, having previously disconnected it from the AC power supply. Find out what types of hard drives can be connected to the motherboard.
Step 2
To do this, consider the available connectors. Most boards work with IDE and SATA hard drives. Based on the information received, purchase a suitable hard drive. Do not forget to specify the type of power to be connected. This is very important, because there are transitional models of SATA hard drives with IDE power supply.
Step 3
Remember that you can connect a hard drive from a laptop to a stationary computer. In this case, we are talking only about hard drives with a SATA interface. If you are using this hard drive, be sure to remove the mounting bracket that holds the device inside the mobile computer.
Step 4
Connect the new hard drive to the computer system board. Fasten the device securely in the dedicated compartment. Turn on your computer and go to the BIOS menu. Most often, this procedure is carried out by pressing the Delete key.
Step 5
Open the Boot Options submenu. Check the boot order of the hard drives. In this case, the first place should be the hard disk on which the operating system is installed. Change the boot priority if necessary.
Step 6
Save your new motherboard settings and restart your computer. After the operating system starts, wait while the new hard drive is detected. Open the "My Computer" menu and check the availability of the device. Format the necessary partitions of the disk if the system cannot work normally with the hard drive.


