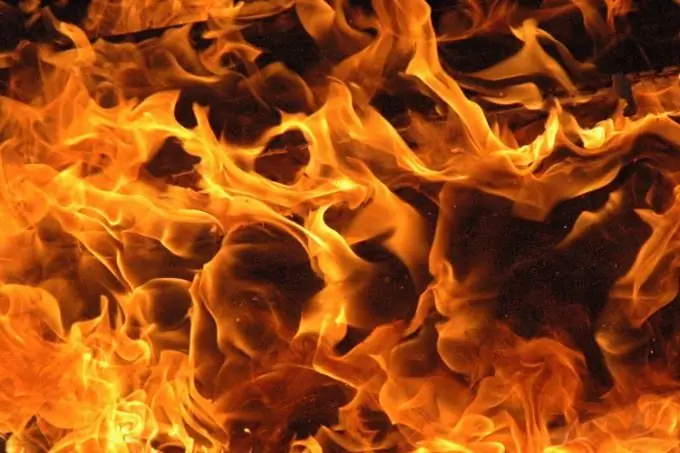
There are many ways to simulate fire using Photoshop. Flames can be painted with brushes. A close to realistic image of the fire can be obtained using the Difference Clouds filter and a gradient.

Necessary
Photoshop program
Instructions
Step 1
Use the New option on the File menu to create an RGB document. The size of the canvas you create can be any size. Select White from the Background content list.
Step 2
Set your foreground color to black and your background color to white. You can adjust these colors manually by opening the color palette by clicking on the colored square in the tool palette, or you can get the same result by pressing the D key.
Step 3
Create a base for the fire texture by applying the Difference Clouds filter from the Render group of the Filters menu to the only existing layer in the document. You will need to use the filter several times before the image in the document window looks like a black and white image of fire.
Step 4
To color the resulting image, use the Gradient Map option from the Adjustments group of the Image menu. In the dialog box that opens, check the Preview checkbox if it is not there. This will allow you to watch the process of coloring the fire in the document window.
Step 5
To adjust the colors, click on the gradient bar in the dialog box. You will need a gradient of black, orange, yellow and white. To do this, click on the leftmost colored marker and immediately after that - on the colored rectangle at the bottom of the dialog box. Select black from the palette that opens. Click below the custom gradient bar to add another color marker. For this marker, choose an orange color. Place a yellow marker in the same way. The rightmost marker should be white.
Step 6
Move the markers to achieve the most realistic color of the fire. To add the created gradient to the swatches palette, click the New button. The same gradient can be used to paint white tongues of fire on a black background, created with brushes. Apply the filter by clicking on the OK button.
Step 7
Modify the resulting picture. Using the Brush Tool, paint over a part of the image with black so as to select several tongues of fire.
Step 8
If necessary, slightly pull up the resulting languages using the Liquify filter from the Filter menu. To correct the created image, the Warp option from the Transform group of the Edit menu is also suitable. Before applying this kind of transformation to the picture, duplicate the layer with the Dublicate Layer option found in the Layer menu.
Step 9
Save the resulting fire using the Save option from the File menu.


