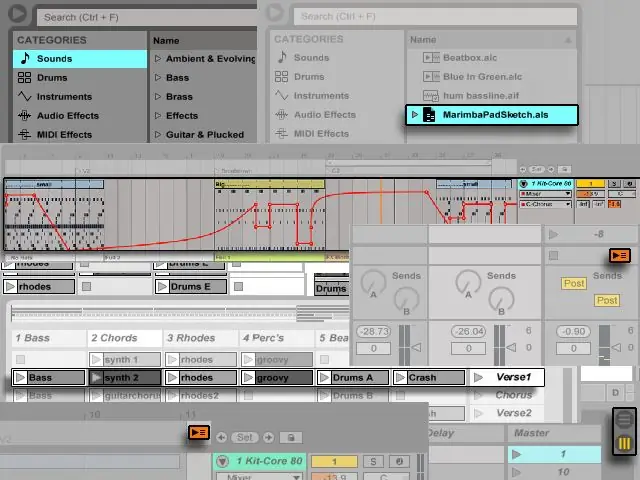
It is recommended that you familiarize yourself with the basic concepts of Ableton Live at the very beginning of the program, as understanding the basic principles of operation will help you maximize your creativity.

Browser
Using the Ableton Live browser, you can interact with your music library: the main sounds of the program, sounds from additional packages you installed, saved presets and samples, built-in and additional instruments, and any folders that you can add manually.
Live Sets
The documents that you create in the process of work are called Live Sets and are stored inside the Live Project, which is a folder with all files related to your project. Live Set can be opened both with the file browser of your operating system, and from the Ableton Live browser.
Arrangement and Session Modes
In Ableton Live, the main musical elements are clips. A clip is a piece of musical material - a melody, a drum pattern, a bass line, or even an entire song. Ableton Live allows you to record and modify clips and create musical structures from them: songs, parts, remixes, DJ sets or stage shows.
Live Set has two environments that can contain clips: Arrange mode (arranging clips along the timeline) and Session mode (triggering clips in real time). Each clip in a session has its own trigger button, with which you can trigger clips at any time and in any order. You can also customize the behavior of each clip after launch.
If you are using Ableton Live in one window, you can switch between modes by pressing the [Tab] key or the corresponding selectors in the upper right corner of the main screen of the program. If you are using two windows, pressing the [Tab] key will move the Session and Arrange modes between both windows.
Arrangement Mode and Session Mode interact conveniently with each other. For example, you can improvise with clips in the Session and simultaneously record what is happening in the Arrangement for further improvement. This works because Arrangement and Session are linked by tracks.
Tracks
Tracks contain clips and also manipulate streaming signals to create new clips using recording, sound synthesis, effects processing, and mixing.
Session and Arrangement contain the same tracks. In Session mode, tracks are arranged horizontally in columns, and in Arrange mode, they are stacked vertically on top of each other with the timeline moving from left to right. A simple rule of thumb governing the behavior of clips on a track is that a track can only play one clip at a time.
Therefore, usually the clips that are to replace each other are arranged vertically in the Session on one track, and the clips playing at the same time are distributed along the tracks in a horizontal row. This is called a scene.
At the same time, a track can play clips either only in Session mode, or only in Arrange mode. When a clip starts in a Session, the track stops playing everything else. For example, if a track was playing a clip in Arrange, it will stop it in favor of the track in Session - even when other tracks continue to play clips in Arrange.
The track will not return to playing the Arrangement until you click the Back to Arrangement button found on the master track in Session mode and in the upper right corner of Arrange mode. This button lights up when at least one track is not playing in Arrange mode, but a clip is playing in Session.
You can press this button to return all tracks to playback in Arrange mode. Likewise, in Arrange mode, each track has its own button to return to Arrange playback, which allows you to select only some of the tracks.


