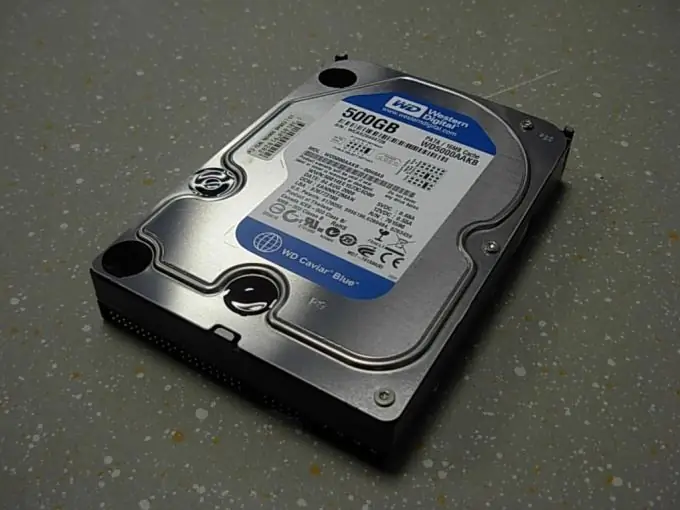
In some situations, to provide more convenient work with the hard disk, it becomes necessary to create new partitions or change the characteristics of existing local disks.

Necessary
Partition Manager
Instructions
Step 1
Follow the procedure below to change the local drive letter in Windows 7 operating system. Open Control Panel and select the Large Icons option in the upper right corner. Go to the Administration menu. Select "Computer Management".
Step 2
In the left column of the menu that opens, select "Disk Management". Right-click on the disk partition you want to change the letter of. Select Change Drive Letter or Drive Path.
Step 3
Click the "Change" button in the window that opens. Set a new letter for this section. Click the Apply button. It is strongly not recommended to change the letter of the system partition unless absolutely necessary.
Step 4
If you were unable to change the drive letter using this method, or you simply do not have access to this option, install the Partition Manager program.
Step 5
Run the installed application. Right-click on the drive partition you want to change the letter of. Select Remove Drive Letter. In the warning window that appears, click the "OK" button.
Step 6
Now right-click on this section again and select "Add letter to disk". Select the required drive letter and click the "OK" button. Now open the "Changes" menu. Select "Apply Changes". Wait for the process of changing the volume letter to complete.
Step 7
You can carry out the process of changing the drive letter during the process of its formatting. Select the required section and select "Format". Specify the file system format for the volume. Select a cluster size and click Next.
Step 8
In the new window, select a drive letter and set the house label, if required. Click the Next and Finish buttons. Now open the "Changes" tab. Select the Apply Changes option.


