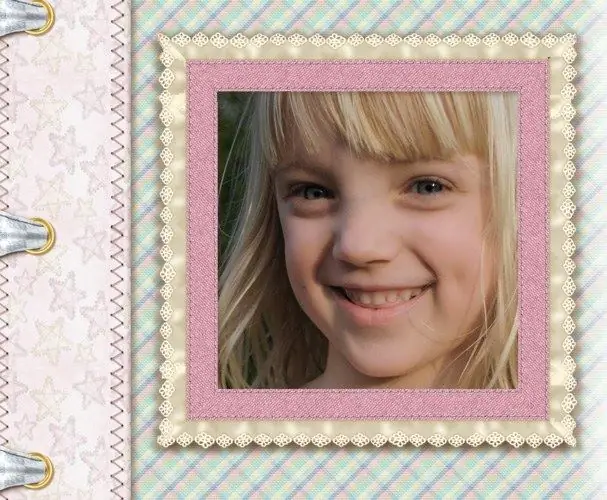
It's easy to ruin childhood photos by over-processing. If your task is not to imitate a certain style, it is quite enough to remove noise from the picture and correct the colors. If the background of the photo is unsuccessful, you can hide it with a decorative frame. All these actions are performed using the tools of the Photoshop program.

Necessary
- - Photoshop program;
- - Photo;
- - file with a frame.
Instructions
Step 1
Load the photo into Photoshop and create a copy of it in the layers palette using the Ctrl + J keys. After removing the noise, this will allow you to adjust the amount of correction by changing the opacity of the processed layer.
Step 2
Remove noise from the photo by opening the settings window with the Reduce Noise option in the Noise group of the Filter menu. The amount of noise in the image can be different for each of the three color channels. In order not to blur all the photos with the filter, enable the Advanced option and go to the opened Per channel tab. After selecting the channel name from the Channel list, adjust the squelch level for each of them.
Step 3
It may turn out that the main noise is concentrated in the dimly lit areas of the photo and is absent in the bright areas. In this case, mask the illuminated areas of the processed image. Use the Color Range option on the Select menu to open the tool preferences and choose Highlights from the Select drop-down list. Use the Add layer mask button from the bottom panel of the layers palette to create a mask based on the selection and invert it by pressing Ctrl + I.
Step 4
Brighten the image if necessary. To do this, use the Levels option of the New Adjustment Layer group of the Layer menu to insert an adjustment layer over the noise-free picture. Move the middle gray marker in the filter settings to the left, making sure that the lightest areas of the image do not lose color when lightened.
Step 5
An unnaturally red skin color is a problem that one has to deal with when processing baby photos. The Selective Color filter will help to cope with this nuisance. Paste an adjustment layer with this filter on top of the already created layers, open the Reds item in the Colors list and reduce the amount of black in the selected color. To do this, slide the Black slider to the left. It may be necessary to remove the amount of magenta to reduce the redness of the skin, but this can lead to a yellowish image.
Step 6
The eyes in children's pictures can be very expressive. To enhance this effect, create a composite layer with Alt + Shift + Ctrl + E and overlay it on all other images in Screen, Color Dodge or Overlay mode. Use the Hide All option in the Layer Mask group of the Layer menu to add a mask that will hide the contents of the layer. With the Brush tool enabled, paint the mask around the eyes with white.
Step 7
If the background of your photo isn't great, place it under one of the decorative.
Step 8
Save the processed image to a.jpg"


