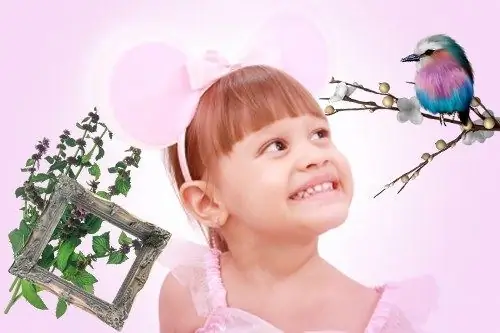
With the development of digital technologies, people have an additional opportunity to realize their creativity and decorate their homes with unusual things. To get a photo, it is no longer necessary to take the film to the development. It is enough to have a computer and a printer at home. And if you wish, you can arrange a photo by applying original effects to it.

Instructions
Step 1
To make a children's (and any other) frame for a photo in the Adobe Photoshop editor, without spending a lot of time and effort, use ready-made scrapbook sets. This saves you the hassle of drawing the details yourself, as it takes practice and a fair amount of patience to be able to use the mouse skillfully. It's much easier to do this with a tablet, but not everyone has one.
Step 2
Scrapbook sets are a collection of thematic pictures that allow you to create a composition in a specific style. Each element is on a transparent layer and can be used wherever in the image your sense of taste and style suggests. You can easily find such collections on the Internet on resources with additional content for Photoshop. For example, on the Allday website (allday.ru) a whole section is devoted to them.
Step 3
Unpack the set from the archive into a separate folder. Start the editor and create a new canvas of the appropriate scale. Place the child's photo on a new layer to guide you where and what element you need to add. Open the folder with the downloaded collection for viewing and start inserting the elements you like into the canvas. Add each new detail to a new layer. Firstly, it will save you from having to start anew if at a certain stage you make a mistake, secondly, it will help to create the effect “above the frame /“under the frame”, and thirdly, it will allow you to apply various effects to individual fragments, and not to the whole image.
Step 4
The main commands in the work will be "Copy" and "Paste". To scale the added image, right-click on the layer with the part and select the "Free Transform" command from the drop-down menu. The element will be placed in a frame indicated in italics, move the mouse cursor to one of the edges or corners of this frame and drag it in the desired direction. To maintain proportions, hold down the Shift key on your keyboard. To rotate a fragment, move the cursor to any corner of the selection and wait until the cursor turns into a semicircular arrow.
Step 5
A second right-click on the editable area will help you select the transform mode. To finish working with a part, double-click the left mouse button on the workspace. Use filters and options from the Image menu as needed. When you're done placing the details of your frame, merge all the layers and save the finished image in a format that suits you. If you plan to return to editing a child frame in Photoshop in the future, choose a format that supports storing layers, for example, PSD.


