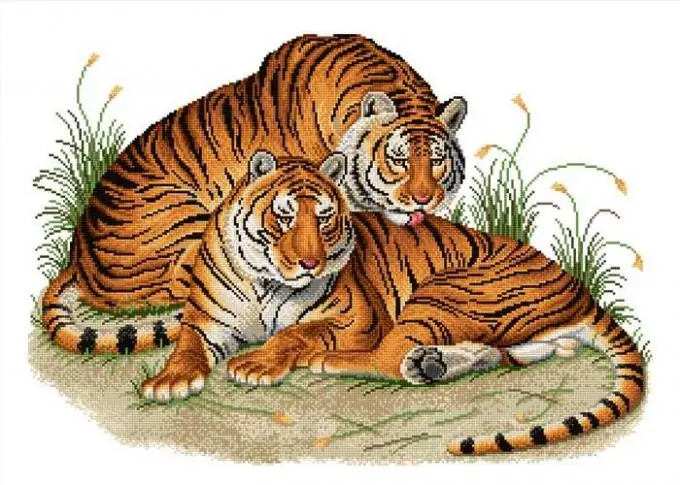
Cross stitch is an ancient way of decorating clothing, household items, and generally a popular embroidery method. You can create a pattern for cross-stitching yourself, both with the help of specialized programs, as well as graph paper and colored pencils.

It is necessary
- - a computer;
- - access to the Internet;
- - browser program.
Instructions
Step 1
Select a photo from which you want to make a diagram. If necessary, process it in a graphics editor, for example Adobe Photoshop: set the desired dimensions, crop, perform color correction, adjust the brightness and contrast, add a frame, etc.
Step 2
Next, follow the link to the online service for creating cross stitch patterns https://www.pic2pat.com/index.ru.html. This site allows you to get a scheme from any image with a set of threads of the selected manufacturer, as well as with a given image size and scale of stitching
Step 3
Click on the "Select file" button to select the photo from which you want to make the scheme. In the window that opens, go to the folder with the photo file, double-click, or select and press the "Open" button. Make sure the photo is less than four megabytes in size. Click "Next". Wait until the photo is sent to the server.
Step 4
Select the type of thread to be used in the design for embroidering the photo. This system provides a choice of the following manufacturers: DMC, Anchor, Madeira, Venus. Select the required number of stitches per centimeter - from 3, 1 to 7, 1. The larger this value, the more realistic the embroidery will be as a result, the density of the future picture depends on this indicator.
Step 5
Next, select the size of the embroidery, from 5x4 cm to 60x45 cm. The selected photo will also be shown in this window. After selecting the settings, click the "Next" button to continue creating the embroidery pattern from the photo.
Step 6
In the next window select the required scheme from those presented on the screen. The presented schemes differ in the number of colors, left-click on the scheme that suits you. The download of the schematic in pdf format to your computer will start automatically. The creation of a cross stitch pattern from a photograph is completed.


