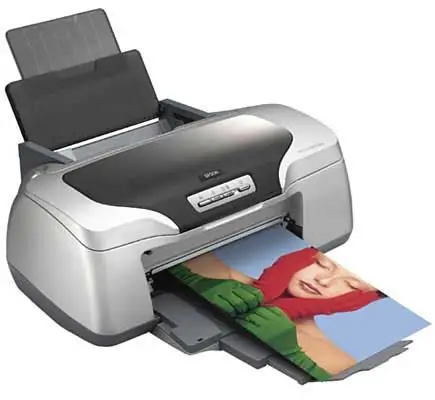
Usually, it is enough to install and add a printer to start printing. In this case, all basic settings will be set by default, but in some cases it is necessary to correct the existing print settings.

Instructions
Step 1
Let's take a look at the basic configuration options. To do this, follow the path: "Start" - "Control Panel" - "Printers and other equipment" - "Printers and faxes" - "your printer".
Step 2
Setting up a print queue depends on what is more important to speed up: the operation of the application or the output of the document to print. The default is the average option (start at first page in sequence). To make changes, right-click on the printer icon - Properties - Advanced - Details - Queue.
Step 3
Print time (for XP2000) is also set in the "Additional" - "Available from …" section.
Step 4
Cancel printing. You need to click on the printer icon to open the print queue list. Select the document, right-click - "Cancel printing". To change the order - the tab "General" - "Priority" of the document. To delete the entire list - "Clear queue".
Step 5
By going to the "Printing Preferences" tab, you can: select the orientation of the paper sheet, set the number of sheets on one printed page, as well as the order of printing multiple pages (from beginning to end or odd and even), select the paper and the corresponding print quality.
Step 6
The settings changed in this way will be accepted as basic for all applications. If you make changes to the printer settings from the print dialog, they will only take effect for this program.
Step 7
You can also duplicate the main printer, and set different print options for each "new" icon. All that remains is to send different documents to “different” printers, which significantly saves time and simplifies your work.


