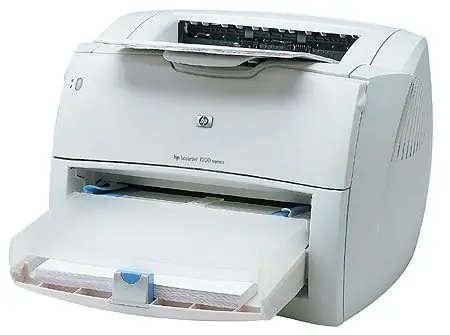
From time to time, inkjet printers may start to print incorrectly - with white lines and vertical stripes all over the printed sheet. If these streaks persist after reloading or printing a checklist, the cartridge may need to be cleaned. There are several different ways to clean a cartridge, and in this article we will cover a few of them.

Instructions
Step 1
On some printer models (such as HP), you can clean the cartridge through the printer control panel. Select the "Tools and cleaning the cartridge" section in the settings and print a blank white sheet.
Step 2
You can also clean the cartridge by using the HP Solution Center. Under Printing Preferences, select Maintain Your Printer and open the Printing Preferences window. At device services, select cartridge cleaning and follow the program instructions until you get the print quality you want.
Step 3
If these methods do not work and the print quality does not improve, try cleaning the cartridge contacts directly by hand.
Step 4
Remove the cartridge from the printer, freeing it from its latches, and prepare a soft cloth of uniform texture, lint-free and lint-free, as well as soft rubber swabs and clean filtered water. Clean the cartridges one at a time - first remove one cartridge for no more than 30 minutes, then reinstall it and remove the other.
Step 5
Check the cartridge contacts for debris and ink stains.
Step 6
Dampen a rubber swab or cloth with clean water, wring out and gently wipe the copper contacts without touching the nozzles and holding the sides of the cartridge. Leave the contacts to dry for 10 minutes. After that, reinstall the cartridge, making sure that a characteristic click is heard during installation. Then take out the second cartridge and do the same with it.
Step 7
In addition to cleaning the copper contacts, it may be necessary to clean the areas around the cartridge nozzles - these areas often accumulate dust, ink stains and dirt. You will need the same materials to clean the cartridge surface around the nozzles as you would to clean the copper contacts. During cleaning, do not touch the contacts and nozzles with your fingers.
Step 8
Place the cartridge you removed for cleaning on a flat surface with the nozzles up. Soak a swab in water and squeeze, then wipe the edges of the nozzles and around them. The nozzle plates themselves do not need to be cleaned - this can lead to their destruction. Replace the cartridge and close the printer cover. Check if the print quality has changed.


