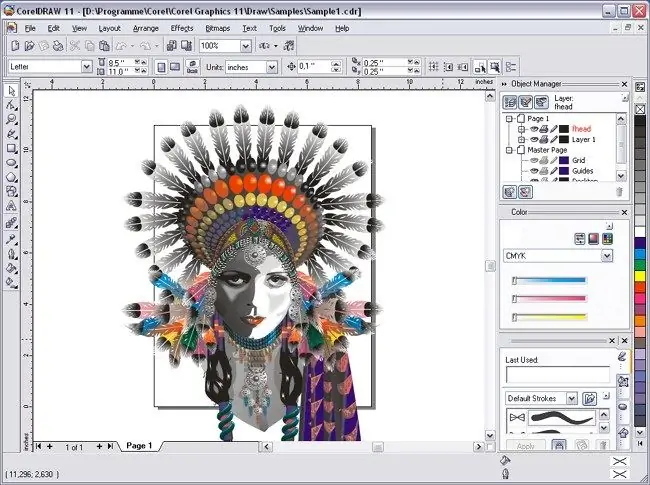
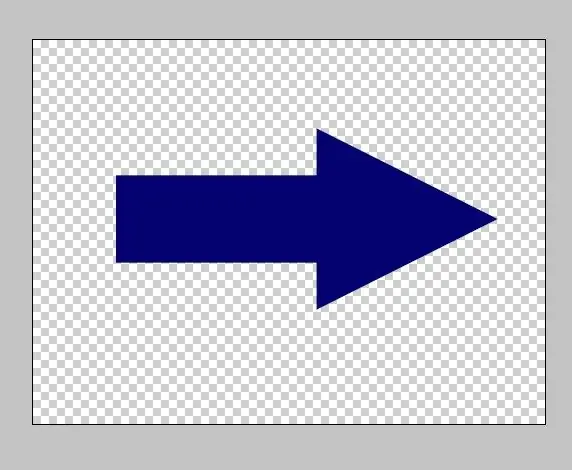
Making graphic images using Corel Draw is convenient and interesting. But saving a file in a bitmap format is fraught with some difficulties: the image is obtained on a white background. With the help of certain manipulations, you can make the background transparent.

It is necessary
Corel Draw program, an arbitrary file with a picture
Instructions
Step 1
Install Corel Draw on your computer and launch it. Create any vector drawing using the program.
Step 2
Go to the File menu and find the Export item. Define the format of the exported file as.
Step 3
After clicking Export, an information window will appear. Select RGB Color (24 bit) in Color Mode and check the Transparent background checkbox.
Step 4
Click OK. When you open the file in Adobe Photoshop, it will be on a transparent background.
Step 5
The second option is to make a.
Step 6
Then another window will appear. In it, select the required image size and check the Anti-aliasing (this option softens the edges of the image) and Transparent background (the figure will be on a transparent background).
Step 7
Now we have to work with the bitmap. Start the raster editor Corel PHOTO-PAINT. In CoerlDraw, click on Application Launcher and select Corel PHOTO-PAINT. In this program, open the file "Arrow" through File> Open. From the top menu, choose Image> Paper Size. In the window that appears, set the background color. Better to choose Magenta. Click OK. The background is determined.

Step 8
Flatten the picture with the background. Select Object> Combine> Combine All Objects With Background from the top menu. The drawing will appear on the background of which you specified the color. Make a mask. Find the Magic Wand Mask Tool in the top horizontal menu and adjust it. Deactivate Anti-aliasing and set Tolerance to 0. The Magic Wand Mask Tool creates a mask from pixels of the image that are similar in color. The drawing takes on a slightly reddish tint - this is a mask.
Step 9
Save the picture in.gif"


