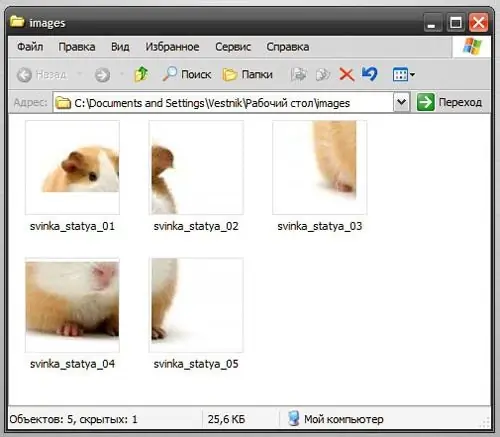
So, you need to cut the picture into several parts. Accurately, accurately and quickly it can be done using Photoshop. Regardless of whether it is a website template, a poster for printing and subsequent gluing, or something else, the principle of cutting a picture remains the same.

It is necessary
computer, photoshop
Instructions
Step 1
First, if you don't have rulers turned on yet, turn them on (Ctrl + R). In the "View" menu, there should be a check mark next to the "Rulers" item. You now have the ability to split the illustration using guides.
Step 2
Move the mouse to the ruler, press the left mouse button and drag. In this case, you will "pull" a guide from the ruler - a colored thin line. Thus, you can pull out as many guides as you like.
To extend a vertical guide, drag from the vertical ruler to the left. The horizontal guide is pulled out in the same way from the horizontal top ruler.
Step 3
In the future, along the guides, the picture will be marked into separate elements for their subsequent cutting. Therefore, this is the most crucial step. The position of the guide can be changed if necessary. To do this, move the cursor to it so that its icon changes and drag it with the left mouse button.
Step 4
After you finish placing the guides, select the Nesting tool from the toolbar. It is also often called "knife" - for its external resemblance. With the help of this tool, the picture will be cut. Bring it to the upper left corner of the first fragment and select the desired area. This is quite easy to do, since the tool will "stick" to the guides by itself.
Step 5
Keep in mind that you shouldn't select half of a slice for great results, but you can select multiple slices at once. In the screenshot, the picture is divided by guides into six fragments, but with the help of the "Markup" tool only 5 blocks have been selected (the first and the second are combined into one). So the output will be only five fragments.
Step 6
After all the fragments are selected, it remains only to save your already cut picture. To do this, choose Save For Web & Devices from the File menu. Then, in the dialog box that appears, select the folder to save the images, the quality level, the format and click "Save". Each fragment of the cut picture will be saved in a separate file.


