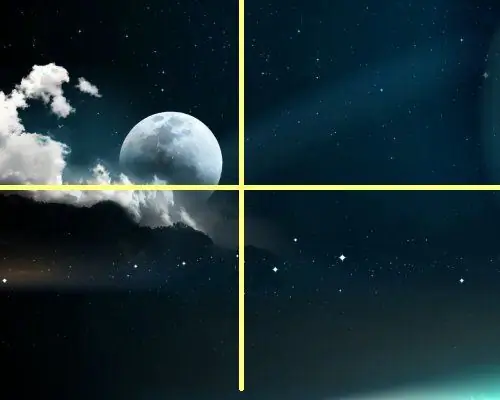
Breaking a large photo into smaller ones is necessary in different cases. For example, for easy printing or more detailed image processing. In order to split the photo into parts of the required size, we will need a good image editor. Best of all is Photoshop.

Necessary
Graphic editor, photo, Photoshop
Instructions
Step 1
Open the photo in the editor. It is necessary to determine in advance how to split the image. You can split the photo into equal parts or of different sizes. Photoshop has two tools for splitting images. This is a cutout and a ruler. If you plan to work with all parts of the image, but separately, then it is better to choose a cutout. You set the desired size of the fragment of the image and transfer it to a new layer. In this way, you can easily work with each part of the image separately, and then save the image as one file.
Step 2
It's another matter if the photo is very large and you need to divide it into smaller fragments. And then work with each one as with a separate photo. In this case, slicing can also be used. True, you will have to save each layer in a separate file. And you can do it easier.
Step 3
In the panel, select the ruler tool. Now set the position vertically and horizontally, by coordinates. This will be more accurate. And if you want to measure it by eye, then you can select the desired areas with the mouse. Then save each piece to a separate file. And it will be possible to work with each of them separately.


