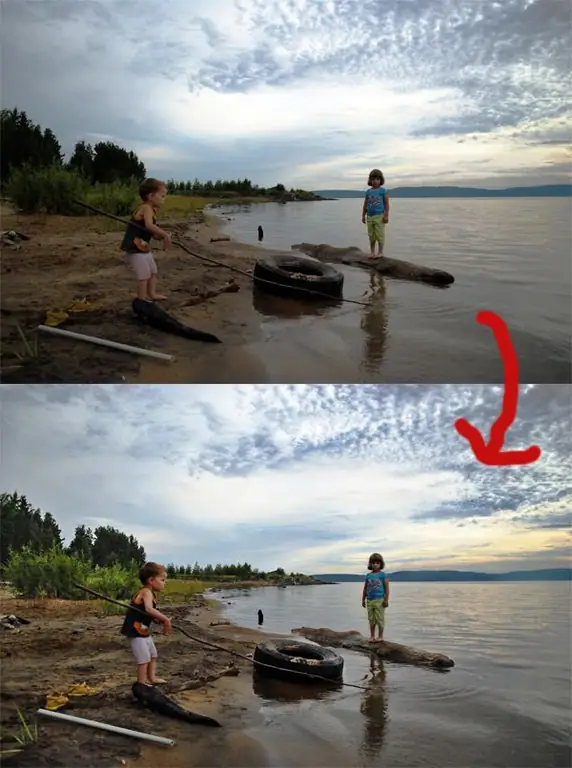
In recent years, HDR photography has become very popular. You have probably noticed more than once that when photographing for the sake of the main subject, you have to sacrifice something. For example, the sky may simply turn into a solid white spot, or dark places may completely lose detail and color and become completely black. HDR photography is high dynamic range photography. Using simple manipulations, you can create a photo without losing colors.

It is necessary
Photoshop, SLR digital camera with manual exposure control and shooting in raw format, raw converter
Instructions
Step 1
First of all, you need to take several pictures with different exposures (at least three pictures). The camera must be well fixed, for this it is best to use a heavy tripod. Photos should be the same composition, but different in exposure: from very dark to very light.
Step 2
Another option is to take 1 raw image. Then, in a raw converter, create 3 photos from this image. One photo with medium exposure and contrast. The second should be darker than the first so that all the exposed areas become clearly visible and acquire color. The third photo should be much lighter than the first one, so that the gaps in the shadows cease to be gaps and acquire texture and color.
Step 3
No matter how you got your shots, open them all in Photoshop in one document. Each photo should be on a separate layer. You should have three layers: light, medium and dark. Create masks for all three layers. For the medium exposure layer the mask should be white, and for the other two it should be black.
Step 4
Use a white brush on the dark layer mask to paint the sky and the places that should be darker. Adjust the softness and opacity of the brush. Hard edges will ruin the photo and make all your manipulations obvious and harsh. The work is very painstaking. By creating volume and saturating the picture with color, you may have to pore over the smallest details.
Step 5
Do the same work on the light layer mask. Highlight all the dark areas so that there are no dips. If you are processing someone's portrait, then this technique will help you to make the face more voluminous and emphasize the shadows where necessary.


