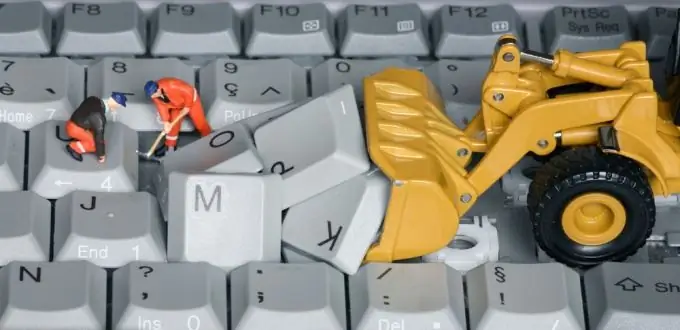
Sometimes just shaking the crumbs out of the keyboard isn't enough. If greasy dust has adhered to the buttons from all sides, then the easiest way is to rinse them with warm water, and for this you need to remove them first.

It is necessary
Keyboard, keyboard button layout, screwdriver, pen, pencil, tweezers
Instructions
Step 1
Search the internet for a picture of a keyboard being disassembled. Print or redraw it, if you do not plan to turn off the computer, then open it on the monitor.
Step 2
Disconnect the keyboard from the system unit.
Step 3
Each keyboard button has two protruding legs that fit into small cylinders located in the keyboard body. There, these legs stand up.
Pry the buttons in turn with a knife, pen, tweezers or just a metal rod and pull them out. It will take quite a noticeable effort to knock each button out of the socket. Some long buttons are attached to the body in several places, such as space, Shift, Enter. Moreover, they still have a special metal tube that goes into the grooves. This tube provides that property of long buttons that the button will work even if you push it in from the edge rather than in the middle.
When pulling out the buttons, these tubes do not interfere, just make sure they are not lost. They are optional during installation, but provide more comfortable work with long keys.


