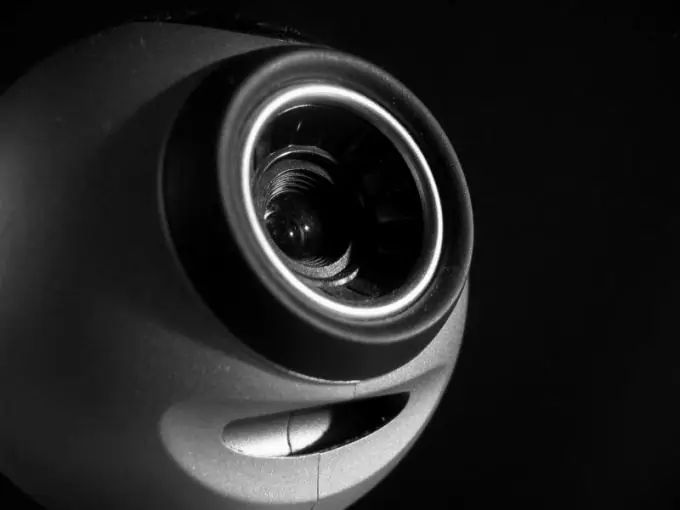
To enable video in Skype, you must first configure the webcam settings both at the driver level and in the program itself. To do this, you need to install drivers for the camera, run the configuration utility for the displayed image and make the appropriate settings.

It is necessary
- - Webcam;
- - drivers for the webcam.
Instructions
Step 1
Connect your webcam to a USB port on your computer. To install the driver, insert the disc that should come with the device. If the installation disk is missing, you need to go to the camera manufacturer's website and download the driver for your model from the corresponding download section.
Step 2
Run the driver installation utility and follow the instructions of the installer. After the files have been unpacked, reconnect the device and open the program installed with the driver.
Step 3
Adjust picture parameters using various menu items. Change the settings for brightness, contrast, white balance and lighting. Additional parameters can be specified in the configuration utility. The functionality of the program depends on the software version and the used webcam model.
Step 4
After making all the settings, start Skype and log in with your username and password to the system. Go to Tools - Options - Video Settings. Check the box next to "Enable Skype video" to enable the ability to broadcast the image from the camera. In the "Select camera" field, enter the name of the connected device.
Step 5
When you call a Skype subscriber on the screen, click the "Enable video calling" button so that the interlocutor can see you. To enable video transmission automatically when you start a conversation, select the checkbox next to "Automatically start video broadcasting" in the Skype settings menu.
Step 6
If, after making all the settings, video communication still does not work, check the driver settings. Try restarting your computer and restarting Skype. Otherwise, try reinstalling Skype.


