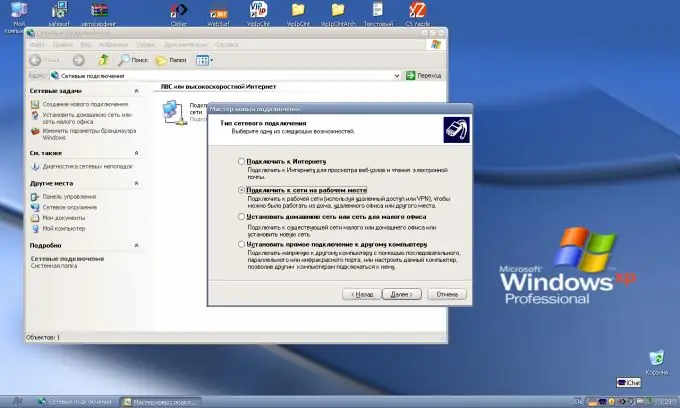
Support for network connections in the local network is provided by a DHCP server. It also allows you to configure the automatic distribution of network addresses and domain names.

It is necessary
Windows XP
Instructions
Step 1
Click the "Start" button to enter the main menu and select "Settings".
Step 2
Go to "Control Panel".
Step 3
Select the "Network Connections" field and double-click to open the application window.
Step 4
Specify Local Area Connection under LAN or High-Speed Internet.
Step 5
Call the drop-down menu by right-clicking on the Local Area Connection icon and select the "Properties" submenu.
Step 6
Specify Internet Pronocol (TCP / IP) on the "General" tab of the window that opens and click the "Properties" button.
Step 7
Select the Obtain an IP address automatically and Obtain DNS server address automatically check boxes.
Step 8
Click OK to confirm.
The protocol setup is complete.
The work of the network environment is provided by the Master Browser. Follow the steps below to configure the settings for its operation.
Step 9
Go back to the Start menu and select My Computer.
Step 10
Call the drop-down menu and specify "Properties" by right-clicking on the "My Computer" field.
Step 11
Select System Properties and go to the Computer Name tab.
Step 12
Click the "Change" button.
Step 13
Enter the desired name in the Computer name field and select the check box on the Workgroup row in the Member of section. Enter SLL in the Workgroup field and click OK.
Step 14
Restart your computer to apply the changes.
Step 15
Return to the "Control Panel" after the restart is complete and select "Administrative Tools".
Step 16
Open a new window for fine-tuning the system by double-clicking on the "Administration" icon.
Step 17
Go to "Services" by double-clicking on the "Services" icon.
Step 18
Find the "Computer Browser" service and open the application window by double-clicking.
Step 19
Select Disabled under Startup Type. Click the Stop button in the Status section (if necessary).
Step 20
Confirm your choice with OK and exit the service.
The computer settings have been changed to work with the network environment.


