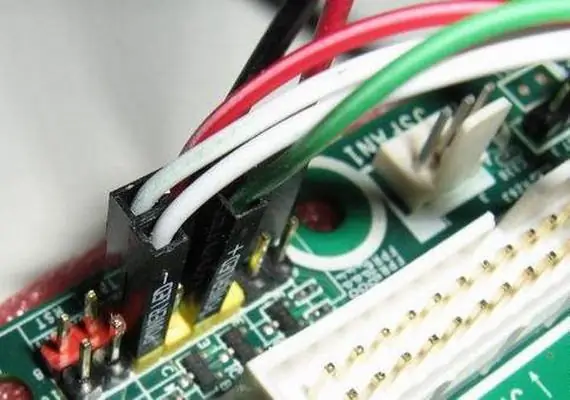
When a motherboard breaks down on a computer, it has to be replaced: remove the old system board, disconnect all PC components from it, and install a new one. But in order for the computer to turn on, you must first connect the power and restart buttons. In this case, it is important to correctly connect all the contacts, otherwise the PC simply will not start.

It is necessary
Computer, motherboard
Instructions
Step 1
The technical documentation for the motherboard will help to connect the power and restart buttons of the computer, as well as the hard disk operation indicator. If you do not have instructions for your motherboard, download its manual from the manufacturer's website. The motherboard model is written on the board itself. Just write it down, go to the manufacturer's website, then - to the "Documentation" section. Then enter the name of the motherboard and you will receive a list of documentation for your model. The diagram of the motherboard is among the documents for sure.
Step 2
Examine the schematic of the motherboard. All buttons are connected to the FRONT_PANEL connector. It is located in the lower right corner of the system board. Using the motherboard diagram, locate the PWR SW connector on FRONT_PANEL. This is the computer power connection button. The wires that need to be connected to the connectors of the FRONT_PANEL connector are labeled. Find the wire labeled POWER and connect it to the PWR SW. Further on the system board, find Reset Sw, and, accordingly, connect the Reset wire to this connector.
Step 3
When the main buttons are connected, connect the rest: motherboard power indicator, microphone. The main thing is to act in stages. The order of connecting additional buttons can be any. Just match the connectors on the FRONT_PANEL connector to the wires you want. This way you will connect all the devices.
Step 4
When everything is connected, connect the power supply wires to the system board. Turn on your computer. If everything went well, it should start. Wait for the operating system to load and restart the PC using the button on the system unit. If it reboots, then you connected this button correctly.
Step 5
If the computer does not start, carefully check the connection and correct any errors if necessary. Even if you did something wrong, your computer will not break down.


