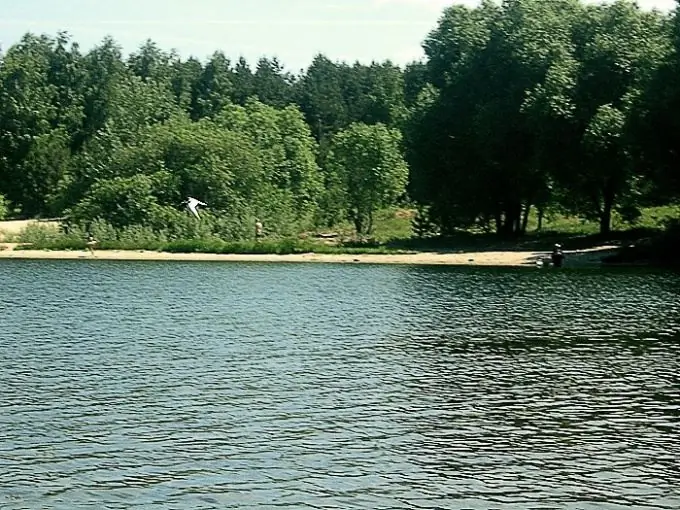
Often, an amateur photographer is saddened to be convinced that the pictures were not very successful: now blurry outlines, then noise or dull inexpressive shades of color … It will not be possible to save a completely unsuccessful photo, although many of the defects can be corrected using Adobe Photoshop.
Instructions
Step 1
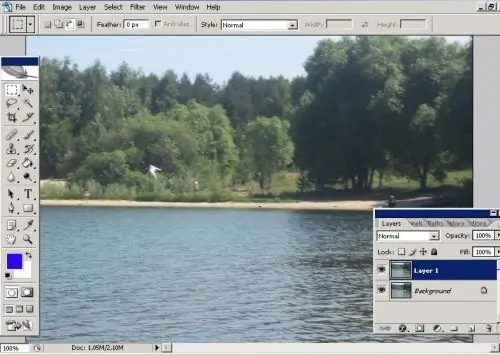
Open the photo in Photoshop and make a copy using the keyboard shortcut Ctrl + J. In the future, all actions for correcting the image must be performed on copies of the layer so that the main image does not suffer from unsuccessful changes.
Step 2
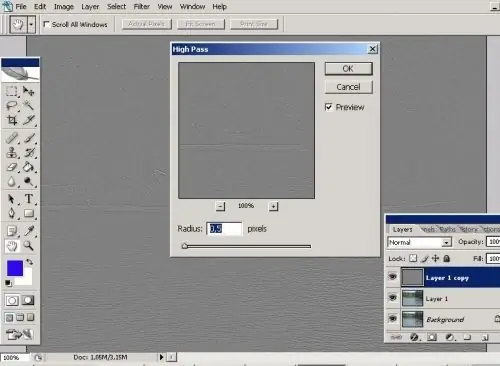
Duplicate the top layer using Ctrl + J again. In the Filter menu, in the Other group, find High Pass and set the Radius to 0.5 pixels - so that the contours of the image barely show through the gray mask. Apply the Overlay blending mode to this layer and merge the layers with Ctrl + E.
Step 3
If you are not satisfied with the image quality, duplicate the top layer again and repeat the sharpening operation as many times as necessary. You can slightly increase the filter radius.
Step 4
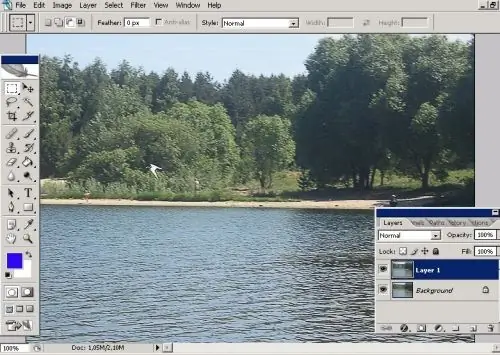
Adjustment layer masks will help add clarity to the image. Click on the round black and white button at the bottom of the Layers panel and select the Brightness / Contrast and Levels options. Gently move the sliders to optimize the sharpness of your photo.
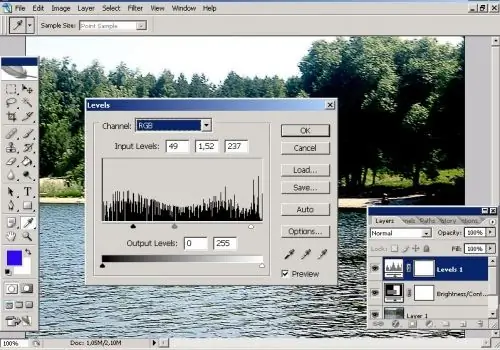
Step 5
Click on the eye image next to the background layer to make it invisible. Merge the visible layers using the Shift + Ctrl + E keys.
Step 6
The original color gamut of the image may have changed during processing. You can try to correct this side effect by using the Photo Filter tool in the Adjustments section of the Image menu. In this case, it is more convenient to apply the Warming Filter (81) to add the feeling of a warm sunny day.
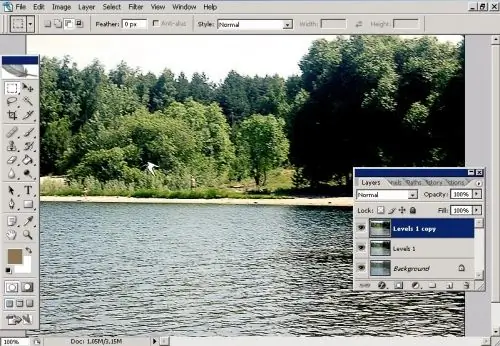
Step 7
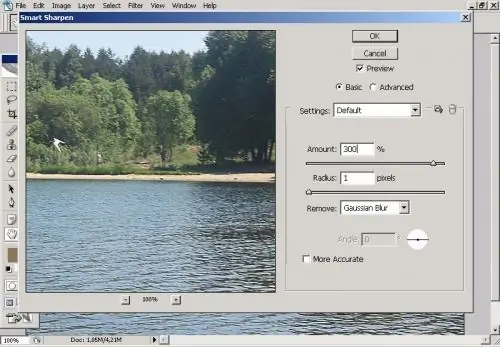
For sharpening, you can use tools from the Sharpen group of the Filter menu. Choose Smart Sharpen. The Amount parameter determines the level of influence of the tool on the image; Radius - radius of impact. Change the settings to improve the quality of the picture.
Step 8
A similar tool is the Unsharp Mask. The Threshold parameter determines the smoothing of details when sharpening.


