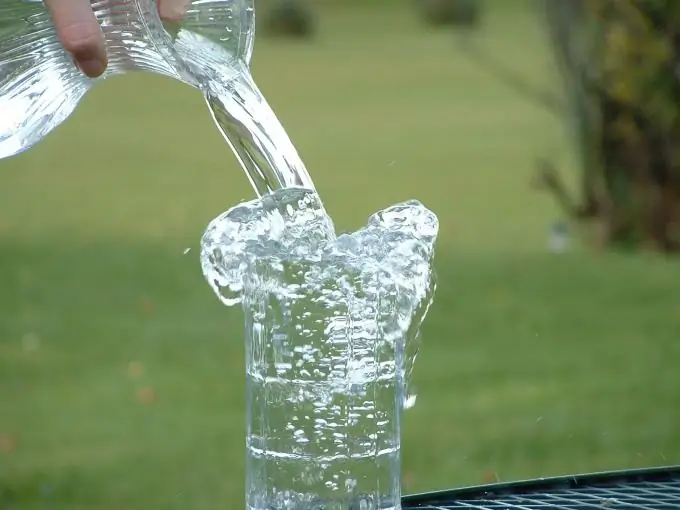
You wiggled your hand inadvertently and brushed the glass off the table. If only you could turn back time at the moment when the glass falls and breaks! Unfortunately, this is still only possible in the field of video effects. In order to make time pass, on the contrary, any editor who knows how to change the playback speed is suitable.

It is necessary
- - After Effects program;
- - video file.
Instructions
Step 1
Import the video into After Effects. The Import option from the File menu will help you with this. In the explorer window that opens, select the file you are going to work with and click the "Open" button.
Step 2
Drag the file from the Project palette to the Timeline palette using the mouse.
Step 3
Reverse the video. To do this, right-click on the footage layer in the Timeline palette. In the context menu, move the cursor over the Time options group and select the Time-reverse layer option. Now the file you are working with will play in reverse.
Step 4
If you want to not only reverse the video, but also change its speed, select the Time stretch option instead of the Time-reverse layer. In the window that opens, specify a new playback speed.
If you want to speed up playback, enter a value less than one hundred percent. If you need to slow down the reverse video playback, use a value greater than one hundred percent. In order to force the time in the recording to flow backward, the speed value must be negative. So, a value of -50% will unfold the frames and speed up playback by exactly half. A value of -200% will unfold it and slow it down in half. A value of -100% will simply reverse the video.
Step 5
Evaluate the result of your experiments with the file using the RAM Preview command from the Preview group of the Composition menu.
Step 6
Save the resulting video. Do this using the Add to Render Queue command from the Composition menu. In the Render Queue palette, left-click on the Output to label. Enter a name for the video file to be saved and specify the location on the disk where it will be saved. Click on the "Save" button.
Click on the Render button on the right side of the Render Queue palette. The blue bar in the palette shows the status of the process. Information about the time remaining until the end of processing can be seen on the right side of the palette. Wait until the end of processing and saving the file.


