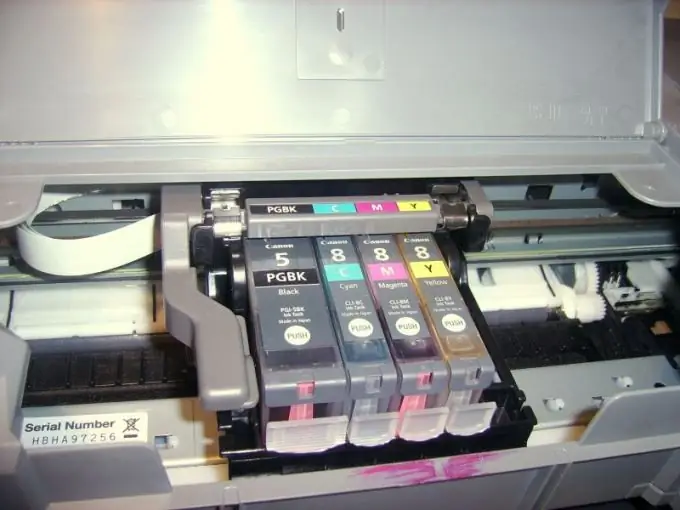
Quite often, inkjet printers have such a situation that the printer either picks up several sheets of paper at once, or does not take anything at all. In this case, everything can work properly, but the paper will not feed correctly or even wrinkle. This means only one thing - you need to replace the paper feed roller. Let's consider an example of removing a clip from a Canon Pixma iP 3300 printer.

Instructions
Step 1
First remove the side covers of the printer box. To do this, release the lower latches by slightly pressing them through the holes in the pallet. Pull the bottom of the cover away from the body. Slide the top of the cover by pushing down on it and remove it from the hooks that hold it against the top of the case. Swing the cover up and to the side and remove it.
Step 2
Remove the front covers by releasing the latches on the front of the printer. To do this, use a thin screwdriver to release the first catch. Then pry the second latch from the inside and slide the cover towards you. Then insert a thin screwdriver into the gap between the body and the cover, press the cover down and pull its outer edge. Try to leave the inside in place. After releasing the cover, tilt the outer part down and free the inner part.
Step 3
Release the latches on the case and remove it. The paper feed roller will open in front of you. To dismantle it, remove the "bracket" in which the roller axis was placed. Unscrew the self-tapping screw from the front side (it attaches the "bracket" to the frame), squeeze the latch and remove, sliding it slightly to the left.
Step 4
Remove the sensor. This is done just in case, because when you open the latches holding the roller, the sensor can slip and break the integrity of the optocoupler. Squeeze the latches that hold the roller and pull it out. After that, you can start replacing or repairing it.
Step 5
Reassemble the printer in the reverse order after repairing or replacing the feed roller. It is very important to remember all the steps when disassembling the printer, so follow the instructions strictly or write down your actions on paper so that you do not have to re-disassemble the printer later. At the same time, you can replace cartridges and clean the inside of the printer from dust or paint.


