There are many tools for recording video from a computer or laptop screen. As a rule, these programs are additionally installed on the PC, or are included in the software for the video card. After the release of the Windows 10 operating system, it became possible to record video and sound from the screen without resorting to third-party utilities, but using the built-in system tools.
The desktop video capture feature in Windows 10 can be turned off by default. To enable it or make sure it is enabled, follow these steps:
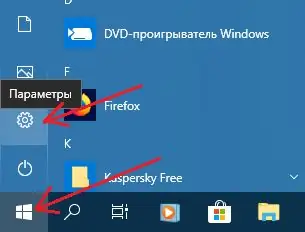
1. Click the Start button and then select Settings (Options)
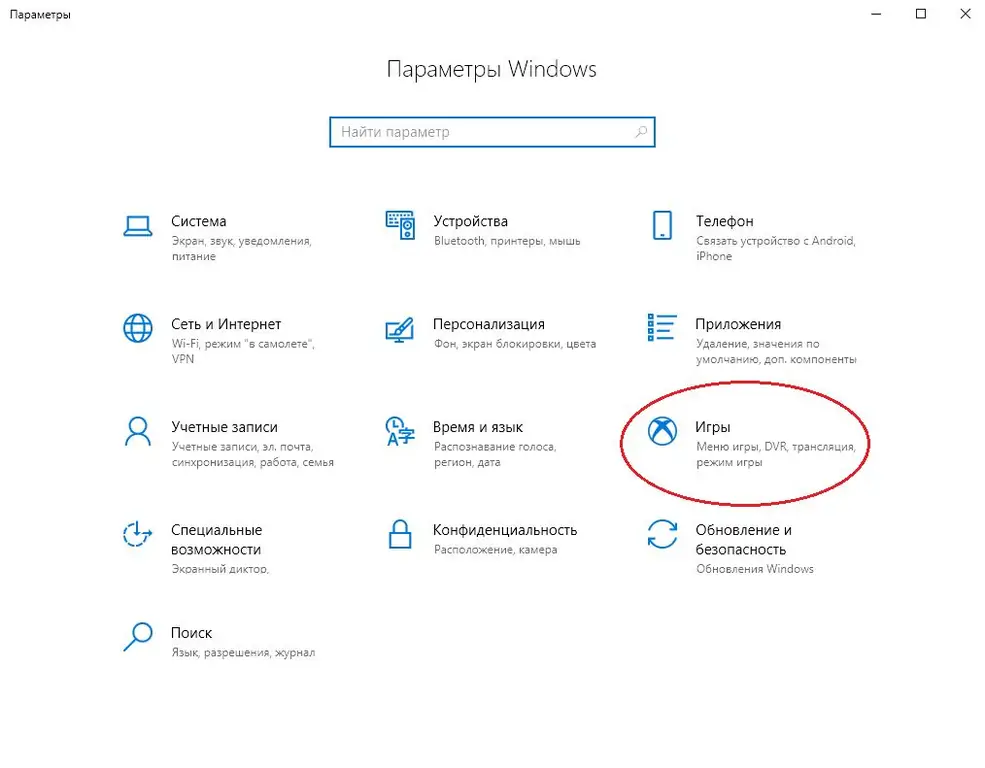
2. Select Games
3. Enable Record Mode from the Game Menu
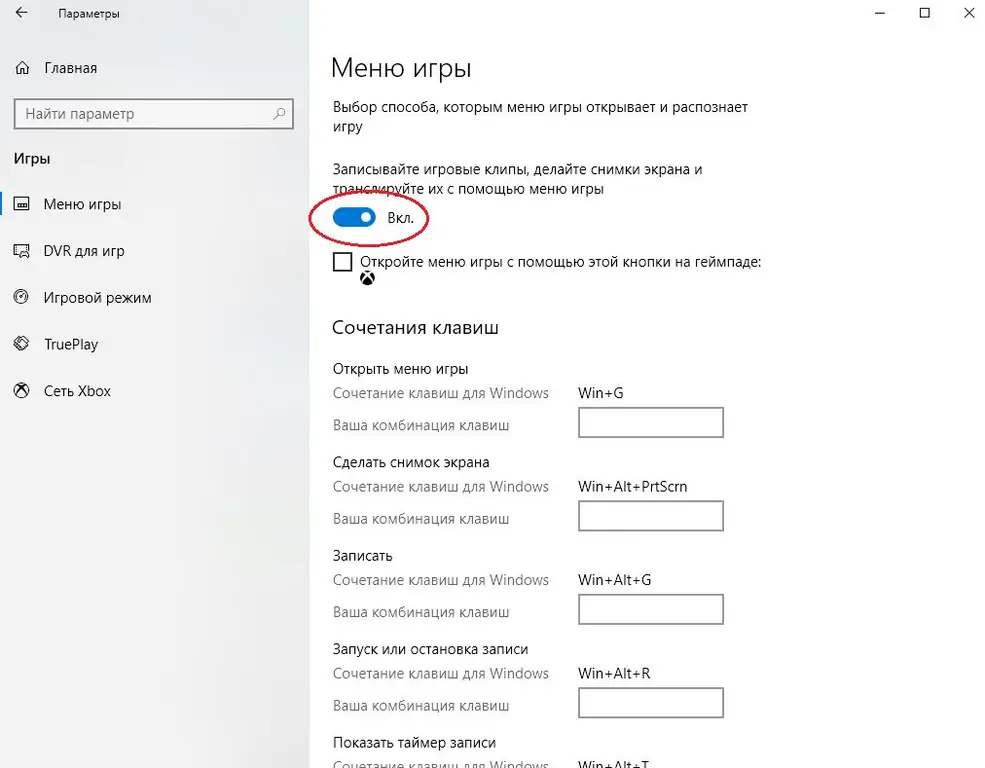
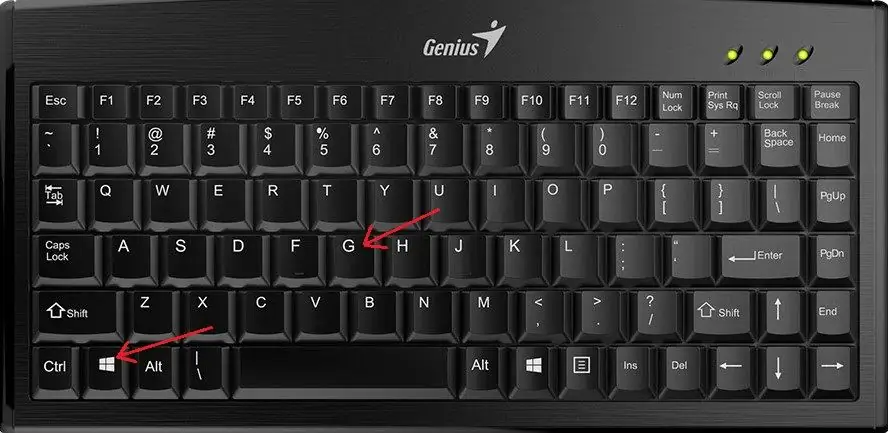
4. Now you can record video from the screen and take screenshots using the game bar. In order to start recording, you need to open the game panel by pressing the Win + G key combination (the "Win" key is usually located in the lower left corner of the keyboard)
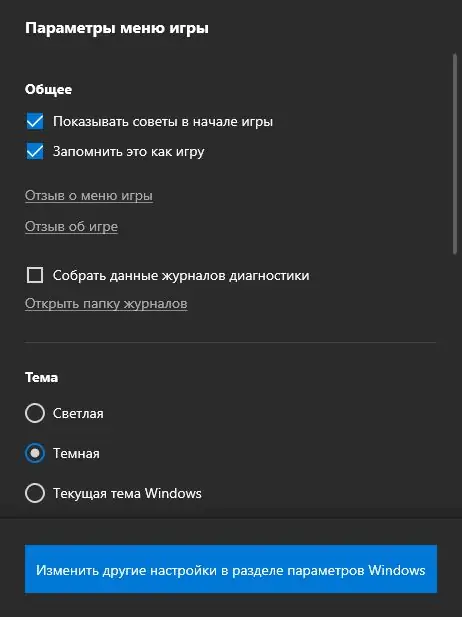
The game bar will appear at the bottom of the screen. It can be moved to another place by holding the left mouse button on the right edge. As the mouse pointer moves over the panel, tooltips will appear describing the functions of the buttons. You can change the theme and other settings by clicking the "Game Menu Options" button

It is important to remember that the game panel (video recording panel) will appear only if the program in which you are going to take a screenshot or record a screen video is already open (always in full screen mode, full screen). It can be an internet browser or video player (for example VLC media player), or a game is running.
By default, the recorded video and screenshots are saved in the "Videos" folder, which can be accessed directly from the recording panel (the My recordings button). In order to change the save location, video and sound parameters or the display of the mouse cursor during recording, you need to open the DVR for games item


