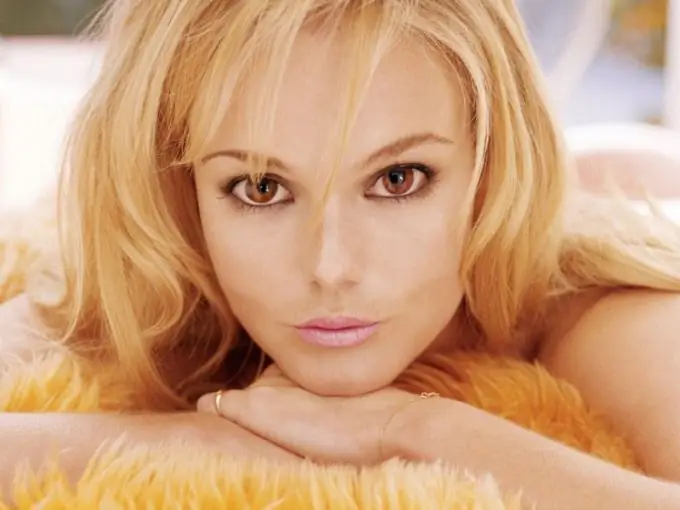
Adobe Photoshop gives you almost unlimited image editing options. Any photo can be changed beyond recognition, turning an ordinary person into an alien or a fabulous creature, like a sphinx and a centaur.

Instructions
Step 1
Open the snapshot and duplicate it using Ctrl + J. It is better to make all changes on a new layer so as not to spoil the main image
Step 2
If necessary, remove skin imperfections. Press Q on your keyboard to enter quick mask edit mode. On the toolbar, set the default colors (front - black, background - white) and start using the Brush Tool ("Brush") to paint over the face and neck. If you paint over the excess, change the foreground color to white and paint over that area.
Step 3
Press Q again to return to normal mode. Use the Ctrl + J combination to copy the selection to a new layer. In the menu Filter ("Filter") select Gaussian Blur ("Gaussian Blur") and select such a value for the radius, so that the imperfections of the skin are no longer noticeable. Remember this number and click Cancel, i.e. do not apply a filter.
Step 4
In the same menu, in the Other group, select High Pass ("Color contrast") and set the value of the radius that you remembered in the previous step - in this example 3, 3. Apply to the layer Gaussian Blur with a radius equal to 1/3 of the High Pass radius value: in this case 3, 3/3 = 1, 1. Press Ctrl + I to invert the selection, set the blending mode to Linear Light and opacity to 50%.
Step 5
Hold alt="Image" and in the Layers panel click the Add Layer Mask button. Choose a white brush and paint over the skin on the face and neck, being careful not to hurt the eyes, lips and eyebrows. Merge the layers using the Ctrl + E combination.
Step 6
Now you need to change your facial features. For this, Photoshop has a powerful tool - the Liquify filter ("Plastic"). In fact, it is a standalone editor with its own toolbar. To enlarge the image, use the Zoom Tool ("Magnifier"). The Hand Tool is used to move the picture.
Step 7
Select the Push Left Tool from the toolbar. If you drag this tool in the right part of the image from bottom to top, the size of the processed fragment decreases, from top to bottom - increases. On the left side of the figure, on the contrary, the detail of the image increases from bottom to top, and decreases from top to bottom.
Step 8
On the right side, adjust the tool parameters. Do not set the Brush Density and Brush Pressure too high so that the deformation is smooth and natural. Change the size of the brush as needed. Treat the oval of the face, the shape of the nose, eyes and mouth as you wish. Click OK to confirm your changes.
Step 9
Again, copy the modified image to a new layer and click the Create new fill layer button on the layers palette. In the context menu, select the Hue / Saturation option and, changing the brightness and saturation, fill the image with a new color. Press Ctrl + E to merge the layers.
Step 10
In quick mask mode, select the lips in the picture, press Ctrl + I to invert the selection, and Ctrl + J to copy the fragment but a new layer. In the Image menu, choose the Adjustments command, then Hue / Saturation and change the color of the lips.
Step 11
Also, using quick mask editing, copy the iris of the eyes to a new layer. In the Adjustments menu, use the Brightness / Contrast and Color / Balance commands to change the color of the eyes and make them brighter.


