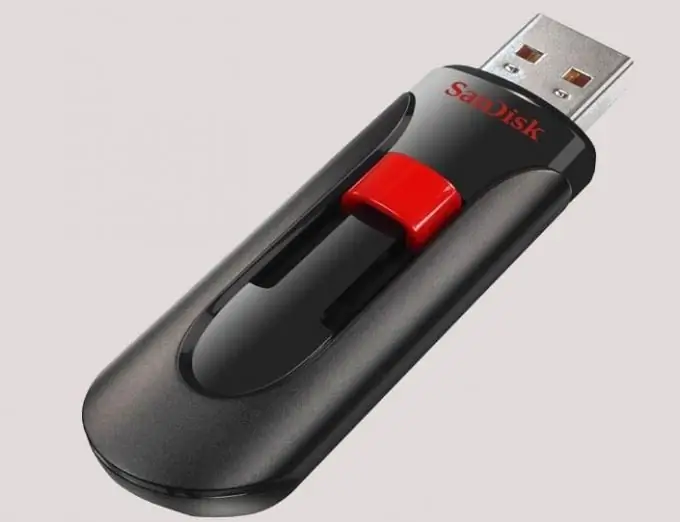
If there is no disk drive in the computer, as well as the impossibility of using a laser data carrier to record an image of the operating system (OS), you can use a USB flash drive. Installing an OS from this media is not much different from using installation discs. To create a bootable USB drive, just use some utilities.

Instructions
Step 1
Download the Windows image of the version you need from the Internet. To do this, you can use the official mirror from Microsoft. It is advisable to download the newest version of the operating system, which has all the necessary updates and modern functionality. The downloaded image must be in iso format.
Step 2
Select a program to work with USB flash drive images. If you downloaded Windows 7 or 8, the Windows 7 USB DVD Download Tool is the best choice. It allows you to capture a system image and make it bootable for BIOS installation. Download this program from the Internet and install it by double clicking on the downloaded file. Follow the instructions on the screen during installation.
Step 3
Insert your data carrier into a USB port on your computer. Go to the "Start" - "Computer" menu and right-click on the defined flash drive. In the context menu, select the "Format" section. Specify NTFS in the "Format" line. You can also check the box next to "Quick Format". After specifying all these settings, click "Start".
Step 4
Wait until the end of the formatting procedure and go to the window of the installed Windows 7 USB Tool. Click the Browse button and specify the path to the previously downloaded system image. In the second step, select the USB flash drive to which you want to write data. After specifying the parameters, left-click on the Begin Copying key and wait until the end of burning.
Step 5
Writing an image to a USB flash drive takes about 10 minutes, after which you can remove the device from the USB slot. The media is now ready to be used as the system installation disc.
Step 6
To start the Windows setup program, insert the media into the USB port of your computer and reboot. When the computer starts up, press the F2 key to enter the BIOS. Among the settings presented, select the First Boot Device item and specify the name of your flash drive. Press F10 to reboot and run the installer.


