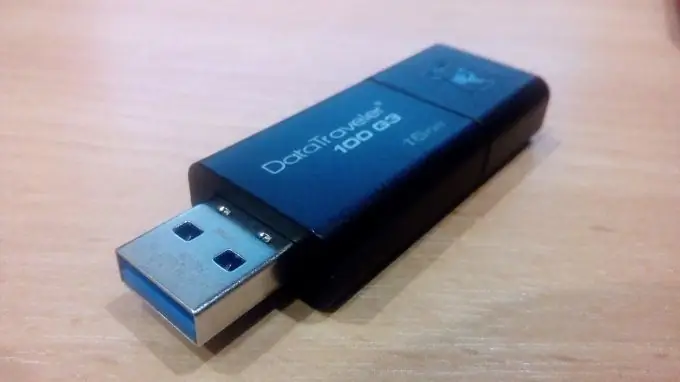
This article describes how to check a flash card for bad sectors, errors and read / write speed using the Flash Check program.

Necessary
- - Computer running Windows;
- - Flash Check program;
- - WinRAR program or similar, for unpacking the archive with the program;
- - The flash card itself.
Instructions
Step 1
We unpack the archive with the program and run it - in the original, the file "ChkFlsh.exe".

Step 2
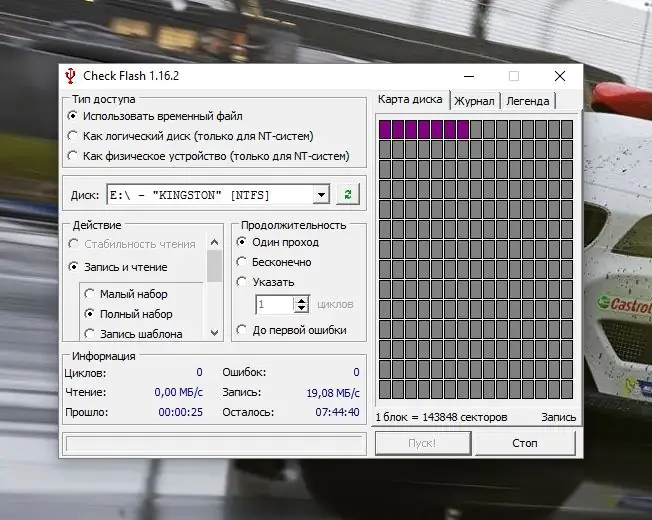
We are greeted by a complex interface at first: so many selectors, parameters … So. In order. To check the read / write speed, you need to set the following settings:
"Access type" -> "Use temporary file";
"Duration" -> "One pass";
"Action" -> "Write and read" ("Full nudge").
Then select the desired flash drive in the drop-down menu and - all that remains is to press the "Start!" In the "Information" group, you need to look at the "Read / Write" parameters - these are the corresponding speeds.

Step 3
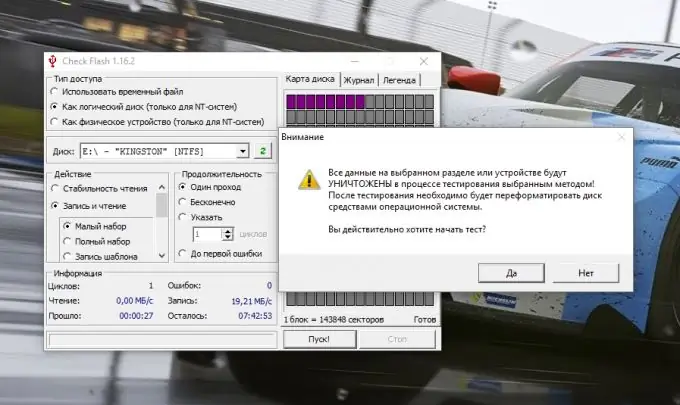
To find out the number of errors on the flash drive, change the following parameters:
"Access type" -> "Like a logical disk";
"Action" -> "Write and read" ("Small set").
As usual, select the desired flash drive and start the test by pressing the "Start!" and agreeing to delete all files stored on the disk. The state of the flash drive can be monitored "live" using the disk card (on the right) - the damaged blocks change their color to red. Work blocks are purple.
You can also monitor the status through the "Log" tab - there will be a list of only abnormal situations - such as errors or interruption of an operation.

Step 4
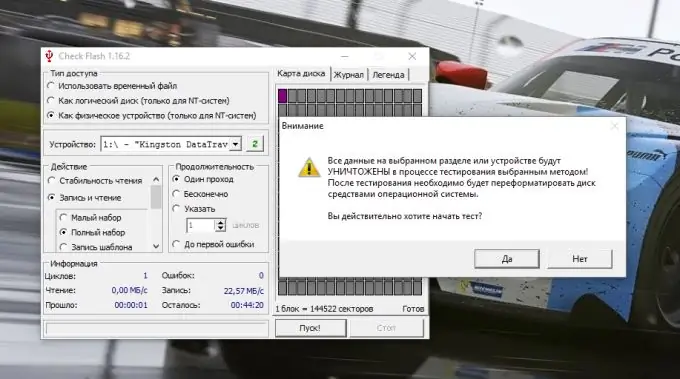
To measure the capacitance, set the following parameters:
"Access type" -> "As a physical device"
"Action" -> "Write and read" ("Full set")
By tradition, we select a USB flash drive and start the process, agreeing to delete all files on the disk. If the capacity is less than indicated, errors will appear in the process - red blocks.

Step 5
An important step is to format the disk after all the checks - out of harm's way. After all, Check Flash uses writing a *.tmp file and then reading and deleting this file. Therefore, you need to format the disk. We will format using standard Windows tools: "Explorer" -> "This computer" -> "Flash drive name (F:)" (where F is the drive letter) -> Right-click -> "Format …"
Next, select the file system (I use NTFS, since very often large single files are stored on a flash drive), the size of the cluster and start formatting. Again, we agree to the deletion of all data on the disk.


