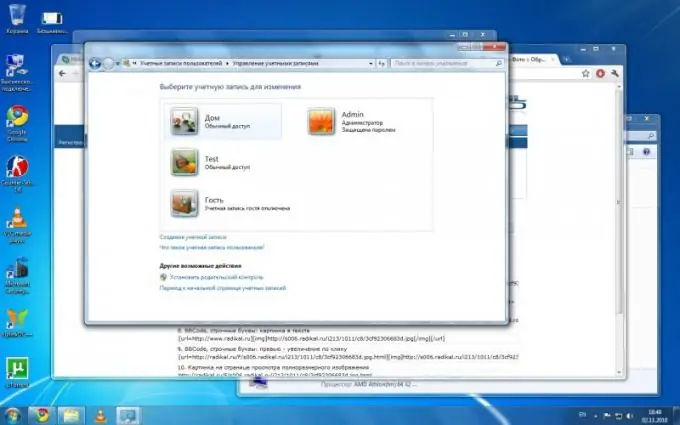
Creating a user account with limited rights may be required if you need to protect your computer from inexperienced users, prevent the installation of new software, or change the operating system settings related to the provision of functionality.

Instructions
Step 1
Click the "Start" button to bring up the main menu of the Microsoft Windows operating system and go to the "Control Panel" section to perform the operation of creating a new user account with limited rights.
Step 2
Select "User Accounts" and expand the "Create Account" node in the dialog box that opens.
Step 3
Enter the desired value of the username in the appropriate field and click the "Next" button to confirm your choice.
Step 4
Apply the checkbox to the Restricted Entry box in the next dialog box and click the Create Account button to apply the selected changes.
Step 5
Return to the "User Accounts" menu and expand the "Change account" node to perform the necessary operations for editing the settings of the created account.
Step 6
Select the "Change name" function and enter the desired value in the corresponding field to replace the username, or use the "Change account type" option to upgrade or downgrade the status of the selected account.
Step 7
Select "Change Image" and select the desired picture to replace the account icon.
Step 8
Click the "Change" button or use the "Find other designs" button to use a custom image or photo.
Step 9
Specify the "Delete password" command and confirm the application of the selected changes by clicking the "Delete password" button in the dialog box that opens if you need to disable password protection, or use the "Delete account" option and click the "Delete" button in the new dialog box to delete the selected user.
Step 10
Remember that in different versions of the Microsoft Windows operating system, the names of various menu items and buttons used may differ, but the procedure remains the same.


