Images with a translucent background look elegant on any site due to the fact that they seem to be made of frosted glass. Such pictures, partially translucent the background image of web pages, can be used for navigation on the site, as well as elements of the logo or resource blocks. You can quickly and easily create a semi-transparent background for any image in Photoshop.

Necessary
- - "Photoshop" program
- - the image for which you want to make a translucent background.
- - know how to create a new layer
- - be able to use the Fill tool, draw shapes in Photoshop
Instructions
Step 1
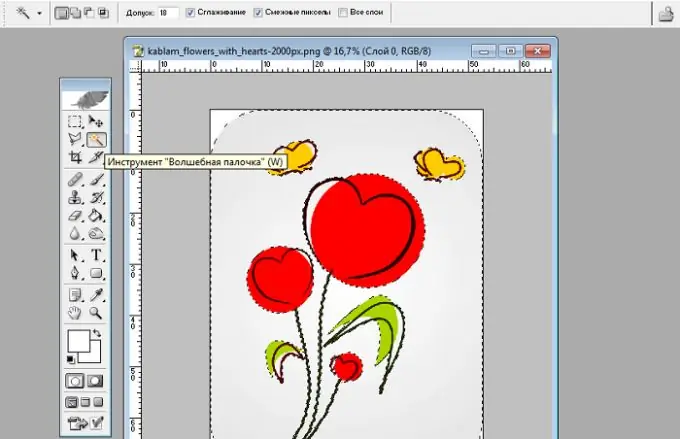
Double click on the name of the image layer and in the field that appears, write any new name for this layer. This is necessary for free movement of this layer and obtaining a transparent background when deleting parts of the picture. If the image already has an opaque uniform background, select it with the Magic Wand Tool. To do this, select this tool on the toolbar and click on the background color, after which all pixels of the color you specified (on which you clicked) will be selected within the closed area. Delete the selection by pressing the Delete key.

Step 2
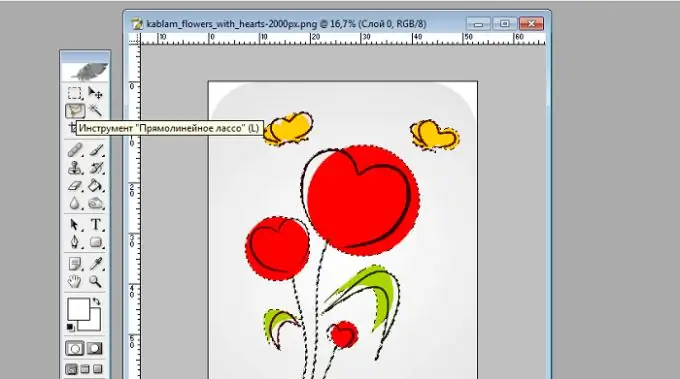
If the background of the image is not uniform, then select the picture itself with the tool "Straight Lasso" or "Pen". If you select an image with the Pen tool, lay out the desired path and, if necessary, edit it with the Pen + tool. When editing with this tool, you can add anchor points by clicking on the line of the created contour and, by moving the points, change its bend. Then, without removing the cursor from the path, press the right mouse button and select "Form Selection". Set Feather to 0 px and check the Anti-Aliasing checkbox. As a result of these actions, the path will be transformed into a selection. Delete the selection by pressing the Delete key.

Step 3
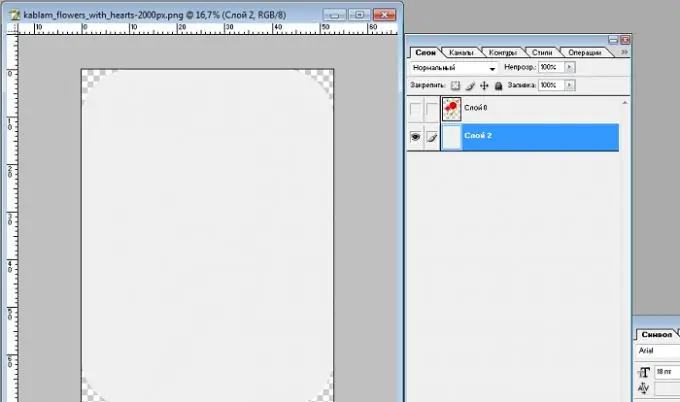
Create a new layer and place it below the picture layer. Hovering over it, press the left mouse button and, without releasing the button, move the cursor below the image layer. In this way, you will drag the new layer below the image layer. Below the image itself, create for now an opaque background of the desired color and desired shape.

Step 4
In the "Layers" window with the bottom layer selected, set the desired percentage of its opacity by moving the lever in the "Opacity" field and watching the change in the transparency of the background in the picture. The lower the opacity value, the more transparent the background will be; the more, the more opaque.
Step 5
Save the image using the "File-Save As" command in.png"


