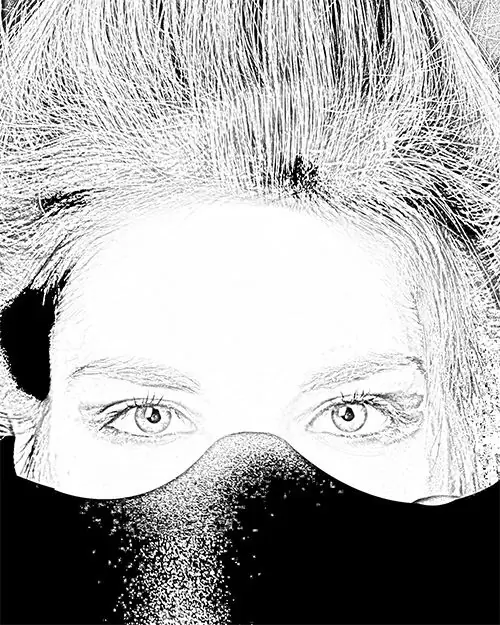
The emergence of powerful and at the same time simple bitmap graphics editors on the software market has made it possible for a wide range of users to engage in amateur processing of digital images. Thanks to a rich set of functions, expandable by connecting external filters, many complex actions can be performed in just a few mouse clicks. For example, previously only a professional artist could transform a photo into a drawing. Now it is available to anyone.

Necessary
- - photo file;
- - raster graphics editor Adobe Photoshop.
Instructions
Step 1
Open the photo in Adobe Photoshop. To do this, you can press the key combination Ctrl + O, or sequentially select the menu items "File" and "Open". In the dialog that appears, go to the required directory, select the photo file, click the "Open" button.
Step 2
Convert the background layer to the main one. From the menu, select "Layer", "New" and then "Layer From Background". In the "New Layer" dialog that appears, enter a name for the layer, and then click the "OK" button.
Step 3
Convert the image to grayscale. In the main menu of the application, sequentially click on the items "Image", "Adjustments" and "Desaturate". Alternatively, press the Shift + Ctrl + U keyboard shortcut.
Step 4
Duplicate the layer. To do this, click on the "Duplicate Layer …" item in the "Layer" menu.
Step 5
Invert the colors of the image. Press the key combination Ctrl + I, or select the items "Image", "Adjustments", "Invert" from the menu.
Step 6
Change the blending mode of the top layer image. In the "Layers" panel, click on the drop-down list. Select the "Color Dodge" item in it.
Step 7
Blur the image in the top layer. Activate the "Gaussian Blur" filter. It is available when you select the items "Filter", "Blur", "Gaussian Blur …" from the menu. In the dialog for managing filter parameters by moving the slider, select the appropriate value for the "Radius" field. Check the "Preview" checkbox to watch the image change in the document window. Click OK.
Step 8
Merge the layers. To do this, press Shift + Ctrl + E, or select the "Layer" and "Merge Visible" items from the menu.
Step 9
Save the resulting image. Press Alt + Shift + Ctrl + S, or select the "File" and "Save for Web & Devices …" menu items. Set the file format and image compression rate. Click the "Save" button. Select a name and directory for saving the file. Click the "Save" button.


