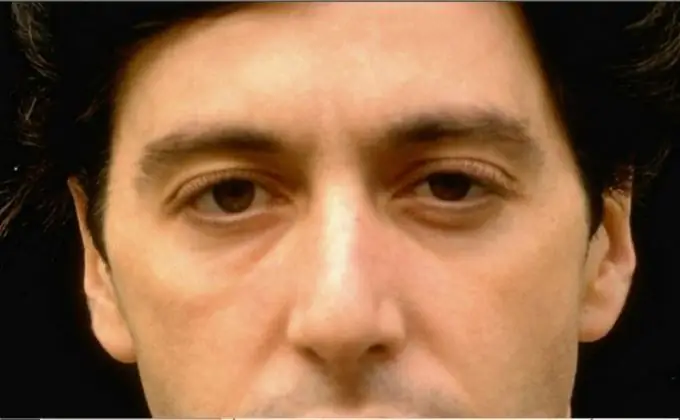
With Adobe Photoshop, you can change your appearance the way you want. You may be more comfortable with a different eye color, a different nose shape, or a more determined chin. Try using this editor to increase the volume of eyelashes.

Instructions
Step 1
Open the image. It is better to paint the eyelashes on the upper and lower eyelids for each eye on separate layers. To create a layer, click on the Create a new layer button in the layers panel or use the Ctrl + N shortcut.
Step 2
Press the P key to activate the Pen tool. Start drawing the lashes on this layer - for example, the upper eyelid of the right eye. Real lashes grow in different directions and don't come in the same length, so don't try to make all lines the same.
Step 3
On the toolbar, select the Brush Tool ("Brush") and in the layers panel set the values for the settings. The size of the brush is 2 pixels, the color is slightly darker than the shade of the hair. Press P again on the keyboard and right-click on the drawn eyelashes.
Step 4
Select the Stroke Path option from the drop-down menu. In the window that appears, check Brush and check the box next to Simulate Pressure. This is necessary for the lashes to look natural. Then again call the context menu by right-clicking and check Delete Path ("Deselect").
Step 5
In the menu Filter ("Filter") in the group Blur ("Blur"), select Gaussian Blur ("Gaussian blur") and set the value of the radius to 0, 5 px. Set the blending mode to Multiplay.
Step 6
Duplicate the layer. Using the Move Tool or the arrow keys, move the copy of the layer so that the eyelashes appear thicker. You can free transform it with Ctrl + T and rotate the layer a little. Apply Normal Blending Mode.
Step 7
If necessary, erase both layers with a soft, low opacity eraser. Merge layers with Ctrl + E.
Step 8
For a more natural effect, you can treat each line that represents the eyelash separately. Draw a line, circle it, blur it in Gaussian. Then set a different base color tone, a different brush size and paint on the next lash. It will take longer, but it will look more convincing.


