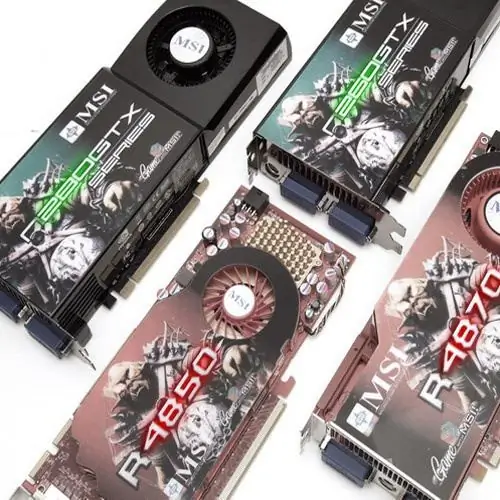
The whole point of overclocking a video card lies in changing the frequencies of the core and memory. One of the ways of overclocking (overclocking) is changing (flashing) the BIOS. It is the BIOS that contains the nominal values of the memory and chip frequencies. Flashing the BIOS frees you from software errors that occur when using various utilities (tweakers) that change the parameters of the video card every time the system boots.

Necessary
Computer, video card, X-BIOS Editor utility or BIOSEdit, 3DMark test program, Internet access, floppy disk or flash drive
Instructions
Step 1
Download the BIOS image from the manufacturer. Ready-made firmware can be found on Internet sites, for example, www.radeon2.ru
Step 2
Create a BIOS recovery floppy disk or flash in case of possible emergencies. On the Internet, you can easily find a wide variety of images for its creation.
Step 3
When the computer boots up, enter the BIOS to configure it correctly. The keyboard shortcut to enter depends on the motherboard model. It's easy to find out from the boot menu. This is usually the DEL or F2 key.
Step 4
After logging in, configure the system so that it boots from a floppy disk (or flash drive), putting your drive in the first place in the order of polling disks. Save changes and reboot.
Step 5
In the menu that appears after booting from a flash or floppy disk, select the item to save the current BIOS firmware. This usually sounds like "Backup VGABIOS". A backup file of your BIOS firmware will be created on a floppy disk or USB flash drive. Now, even in case of an unsuccessful firmware, you can restore the card to work in a few minutes.
Step 6
Boot your computer from your hard drive. Use X-BIOS Editor for NVIDIA cards or BIOSEdit for ATI cards, modify the contents of the native BIOS file or the BIOS file downloaded from the Internet. To do this, edit the frequency values in the program window on the "Initialization" tab. For stable operation, it makes sense to first test the increased values on some test program, for example 3DMark, and only then change the values in the BIOS.
Step 7
Save the edited firmware file to your floppy disk or USB flash drive with the name new.bin. Boot your computer from a floppy disk. In the menu, select the item "Update VGABIOS". It is very important not to overload or turn off the computer until the flashing is complete. Reboot at the end, and then check the result.


