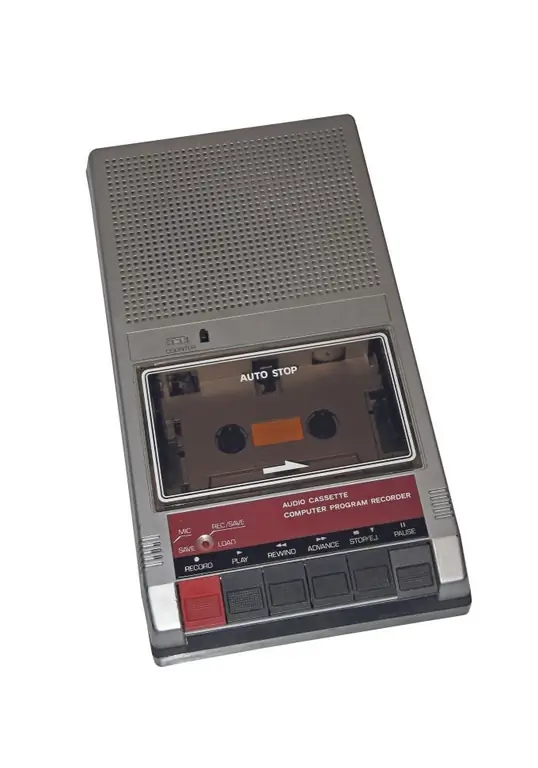
After you have made a recording using the voice recorder, you need to transfer it to your computer. The transfer method depends on the model of the device. In some cases, it takes a few moments, and sometimes it lasts as long as the recording itself lasted.

Instructions
Step 1
To transfer files to your computer, the IC recorder must first be connected with the supplied cable to the USB port of the machine. If necessary, manually switch it to the computer connection mode (how to do this is described in the instruction manual).
Step 2
If the device is recognized as a flash drive, just transfer the data from it to the folder you need on the hard disk of your computer. This can be done on both Linux and Windows. You can find out in which folder the sound files are located in the recorder itself from its instructions.
Step 3
If the recorder is not recognized as a flash drive, a special program is required. Unfortunately, it may not work on Linux even with the Wine emulator. You can get the program for working with the voice recorder either on the website of its manufacturer, or on the disk attached to the device.
Step 4
Further, your actions depend on the file format. If the voice recorder records sound in one of the common formats (Vorbis OGG, MP3, WMA), you can listen to the recordings without re-encoding. Files of the AMR format, if you do not have a player program for them, you can listen to them by transferring them to your cell phone. If the device uses a special format developed by its manufacturer, you will have to use a transcoding program. It can also be taken either on the manufacturer's website or on the disc attached to the recorder. Most transcoders work not only on Windows, but also on Linux with the Wine emulator.
Step 5
In some voice recorders (in particular, cassette ones), the ability to connect to a USB port is completely absent. It will have to be connected to the sound card, and the dubbing process will take a long time. To do this, solder a cable consisting of two "jack" plugs with a diameter of 3.5 mm. Connect their like-named contacts to each other. To avoid interference, it is advisable to make the cable short, no longer than half a meter. Connect one of the plugs to the headphone output of the recorder, and the other to the line-in of the sound card.
Step 6
On the computer, start the mixing program (how to do this depends on the operating system). Turn on the line-in in this program and set the corresponding control to maximum. On the recorder, set the volume to minimum. Start playback and then slowly increase the volume until distortion appears. After that, reduce it slightly so that the distortion disappears.
Step 7
Launch Audacity on your computer. If you have Linux installed, you most likely already have it. Windows users will have to download this program from the following site:
Step 8
Simultaneously turn on playback on the recorder (if it is cassette, after rewinding the cassette to the beginning), and in the Audacity program - recording. When dubbing is finished, stop playback on the recorder and recording on the computer, and then save the sound file.


