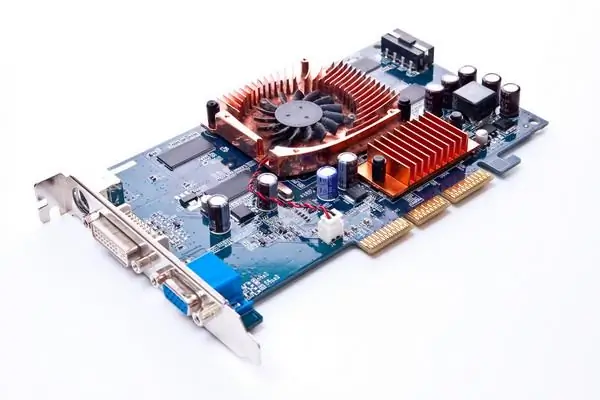
Modern video cards are equipped with powerful processors that can handle the most technologically advanced video games. But there are situations when a computer may not be used for video games for a certain period of time. In this case, the video card is not loaded at full capacity. In such situations, you can reduce the frequency of the processor. Then the video card will heat up less, the cooling system will work quieter and the power consumption will be lower.

Necessary
Computer, Catalyst Control Center utility, RivaTuner utility, Internet access
Instructions
Step 1
If you have an ATI Radeon video card, then the Catalist Control Center, a proprietary utility of this company, is suitable to reduce the frequency of the video card processor. It should come with the drivers for the video card. You can also download it for free from the official website of the company. Install the utility on your computer. Be sure to restart your PC after installation.
Step 2
Click on an empty area of the desktop with the right mouse button and select Catalist Control Center from the menu that appears. In the next window, check the "Advanced" item and click "Next". There is an arrow in the upper left corner of the window. Left-click on it and select ATI Overdrive. You will see a lock at the top of the window. Click on it with the left mouse button to unlock the functions of this menu.
Step 3
Now pay attention to the inscription "Clock frequency value". There is a slider under it. Move it to the left to decrease the frequency of the video card. By moving the slider, you can see how many MHz you reduce the frequency of the video card. After lowering the frequency, click “Apply” and OK.
Step 4
If you have an nVidia graphics card installed on your computer, you will need the RivaTuner utility. Download it from the Internet and install it on your computer. Run the program. In the "Home" tab, where you will be taken immediately after launch, there will be the name of your video card. There is an arrow next to the name (the one that points to the right). Click on this arrow with the left mouse button.
Step 5
Several small icons will appear. When you move the mouse cursor over the icon, you will see the inscription. Select the icon that says "Low-level system settings". In the next window, there will be a slider under the "Core frequency" label. To decrease the frequency, move the slider to the left. In this window, you can also see how much you lower the frequency. After lowering the frequency, click “Apply” and OK.


