Increasingly, users of personal computers are faced with the problem of infecting their machines with viruses. Most of them reach computers via the Internet. However, cases of infection from the local network, from external storage media are not excluded. It is quite difficult to recover files after viruses.

Necessary
R-Studio utility
Instructions
Step 1
The result of the activity of viruses can be such an unpleasant consequence as damage to the user's files on the computer. It can be very disappointing to lose precious information that was so important and necessary. Therefore, various utilities have been created by software developers. They allow you to recover files that have been damaged as a result of various circumstances. This includes file corruption by a virus. One of these utilities is R-Studio.
Step 2
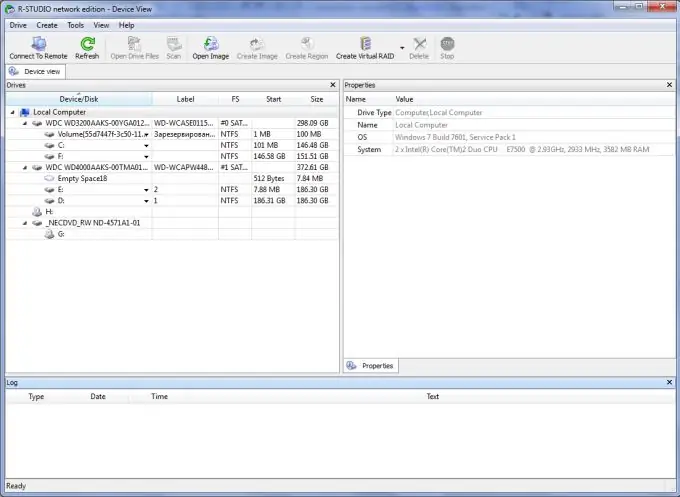
Install and run R-Studio on your computer. To do this, double-click on the program icon on the Windows desktop.
Step 3
Scan the local drive where you want to recover data. In the left part of the program window, single-click the right mouse button on the desired local disk. A context menu will appear. In it, select the "Scan …" item. In the window that opens, leave all the default settings. Here just click on the "Scan" button. The scanning process will be launched, which can be found in the modified right part of the main program window. Wait for the end of the scanning process.
Hint: A square will blink on the right side of the window while scanning. At the end of the scanning process, this square will disappear.
Step 4
Browse and select the list of recoverable files. After the end of scanning, under the disk, there will be inscriptions, such as RecognizedX (where X are numbers). Hover the cursor over one of these folders and press the "F5" key. This is required to view the content. In the window that opens on the left, select the folders and files to restore by checking the boxes next to the required data.
Step 5
Recover files. To do this, click on the "Recover Marked" button in the upper part of the main program window. In the next window, specify the path for file recovery and click the "OK" button. The recovery process will proceed, which will be indicated by the status bar.


