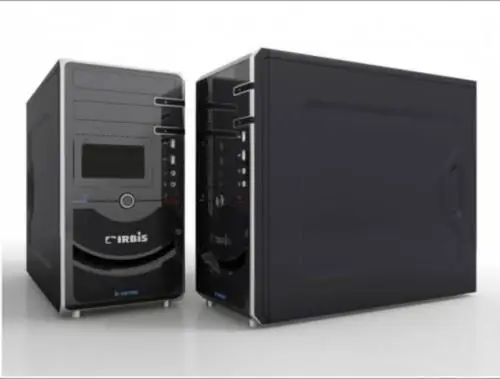
After long-term operation of the computer, a growling sound appears inside the system unit, which often frightens the user and makes him pretty nervous. However, you should not be particularly upset! If you are not afraid to open the system unit and you have minimal experience with a screwdriver and tweezers, then you can fix this defect yourself. This is due to the drying out of the lubricant in the bearings of the cooling fan.

Necessary
- - screwdriver;
- - tweezers;
- - knife;
- - alcohol;
- - lubricating oil;
- - cotton wool or bandage.
Instructions
Step 1
Open the system unit. Turn on the computer. Use your finger to slow down the visible rotating fan for a short time (no more than 1-2 seconds) by its central part. Be careful not to hit the blades! If the sound disappears, turn off the system unit and remove the fan by unscrewing 4 screws at the corners of the fan or removing the latch (depending on the mounting method). If the sound does not disappear when the visible fans are braking, then the fan in the power supply buzzes.
Step 2
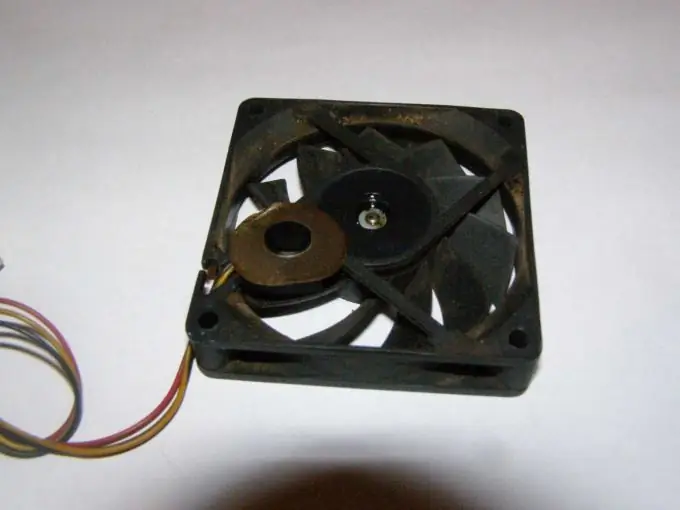
To lubricate the fan, carefully, without damaging, remove the protective sticker by prying it off with a thin screwdriver or knife. Under the sticker is a hard polymer fixing clip in the form of a cut washer, which must also be carefully removed. Be careful - the clip tends to jump off the shaft and get lost somewhere on the floor or elsewhere.
After that, remove the fan impeller, wash the bushing in the housing and the impeller shaft with alcohol. You can wash the sleeve by pulling a tightly twisted tourniquet of cotton wool or bandage through it, previously moistened with alcohol.
Assemble the fan, install the clip and add 2-3 drops of oil. Be careful not to get oil on the surface where the protective sticker is being applied. If this happens, then wipe the surface with alcohol and dry. If the protective sticker is torn, then it can be replaced with ordinary tape. Reattach the fan and enjoy the silence.

Step 3
If the fan in the power supply unit (PSU) is humming, then you will have to remove and disassemble it.
Removal and disassembly are simple. Turn off the computer and disconnect the network cable. Disconnect all the wires going from the power supply unit to the motherboard and other units, although this can be omitted so that later you do not remember where to stick what, but disassembly will be more inconvenient.
Unscrew the 4 screws securing the power supply unit to the computer case and remove it. Unscrew the screws securing the power supply cover (usually 4 pcs.) Unscrew the 4 screws securing the fan and remove it. The fan power cable, as a rule, is soldered into the power supply board, if connected with a connector, then consider it lucky. The rest of the steps are as described above.


